How to Create a Vault
A vault is where PearPass securely stores your passwords, notes, and other vault items. Follow the steps below to create a new vault.
PearPass creates a default vault named Personal Vault when you complete onboarding.
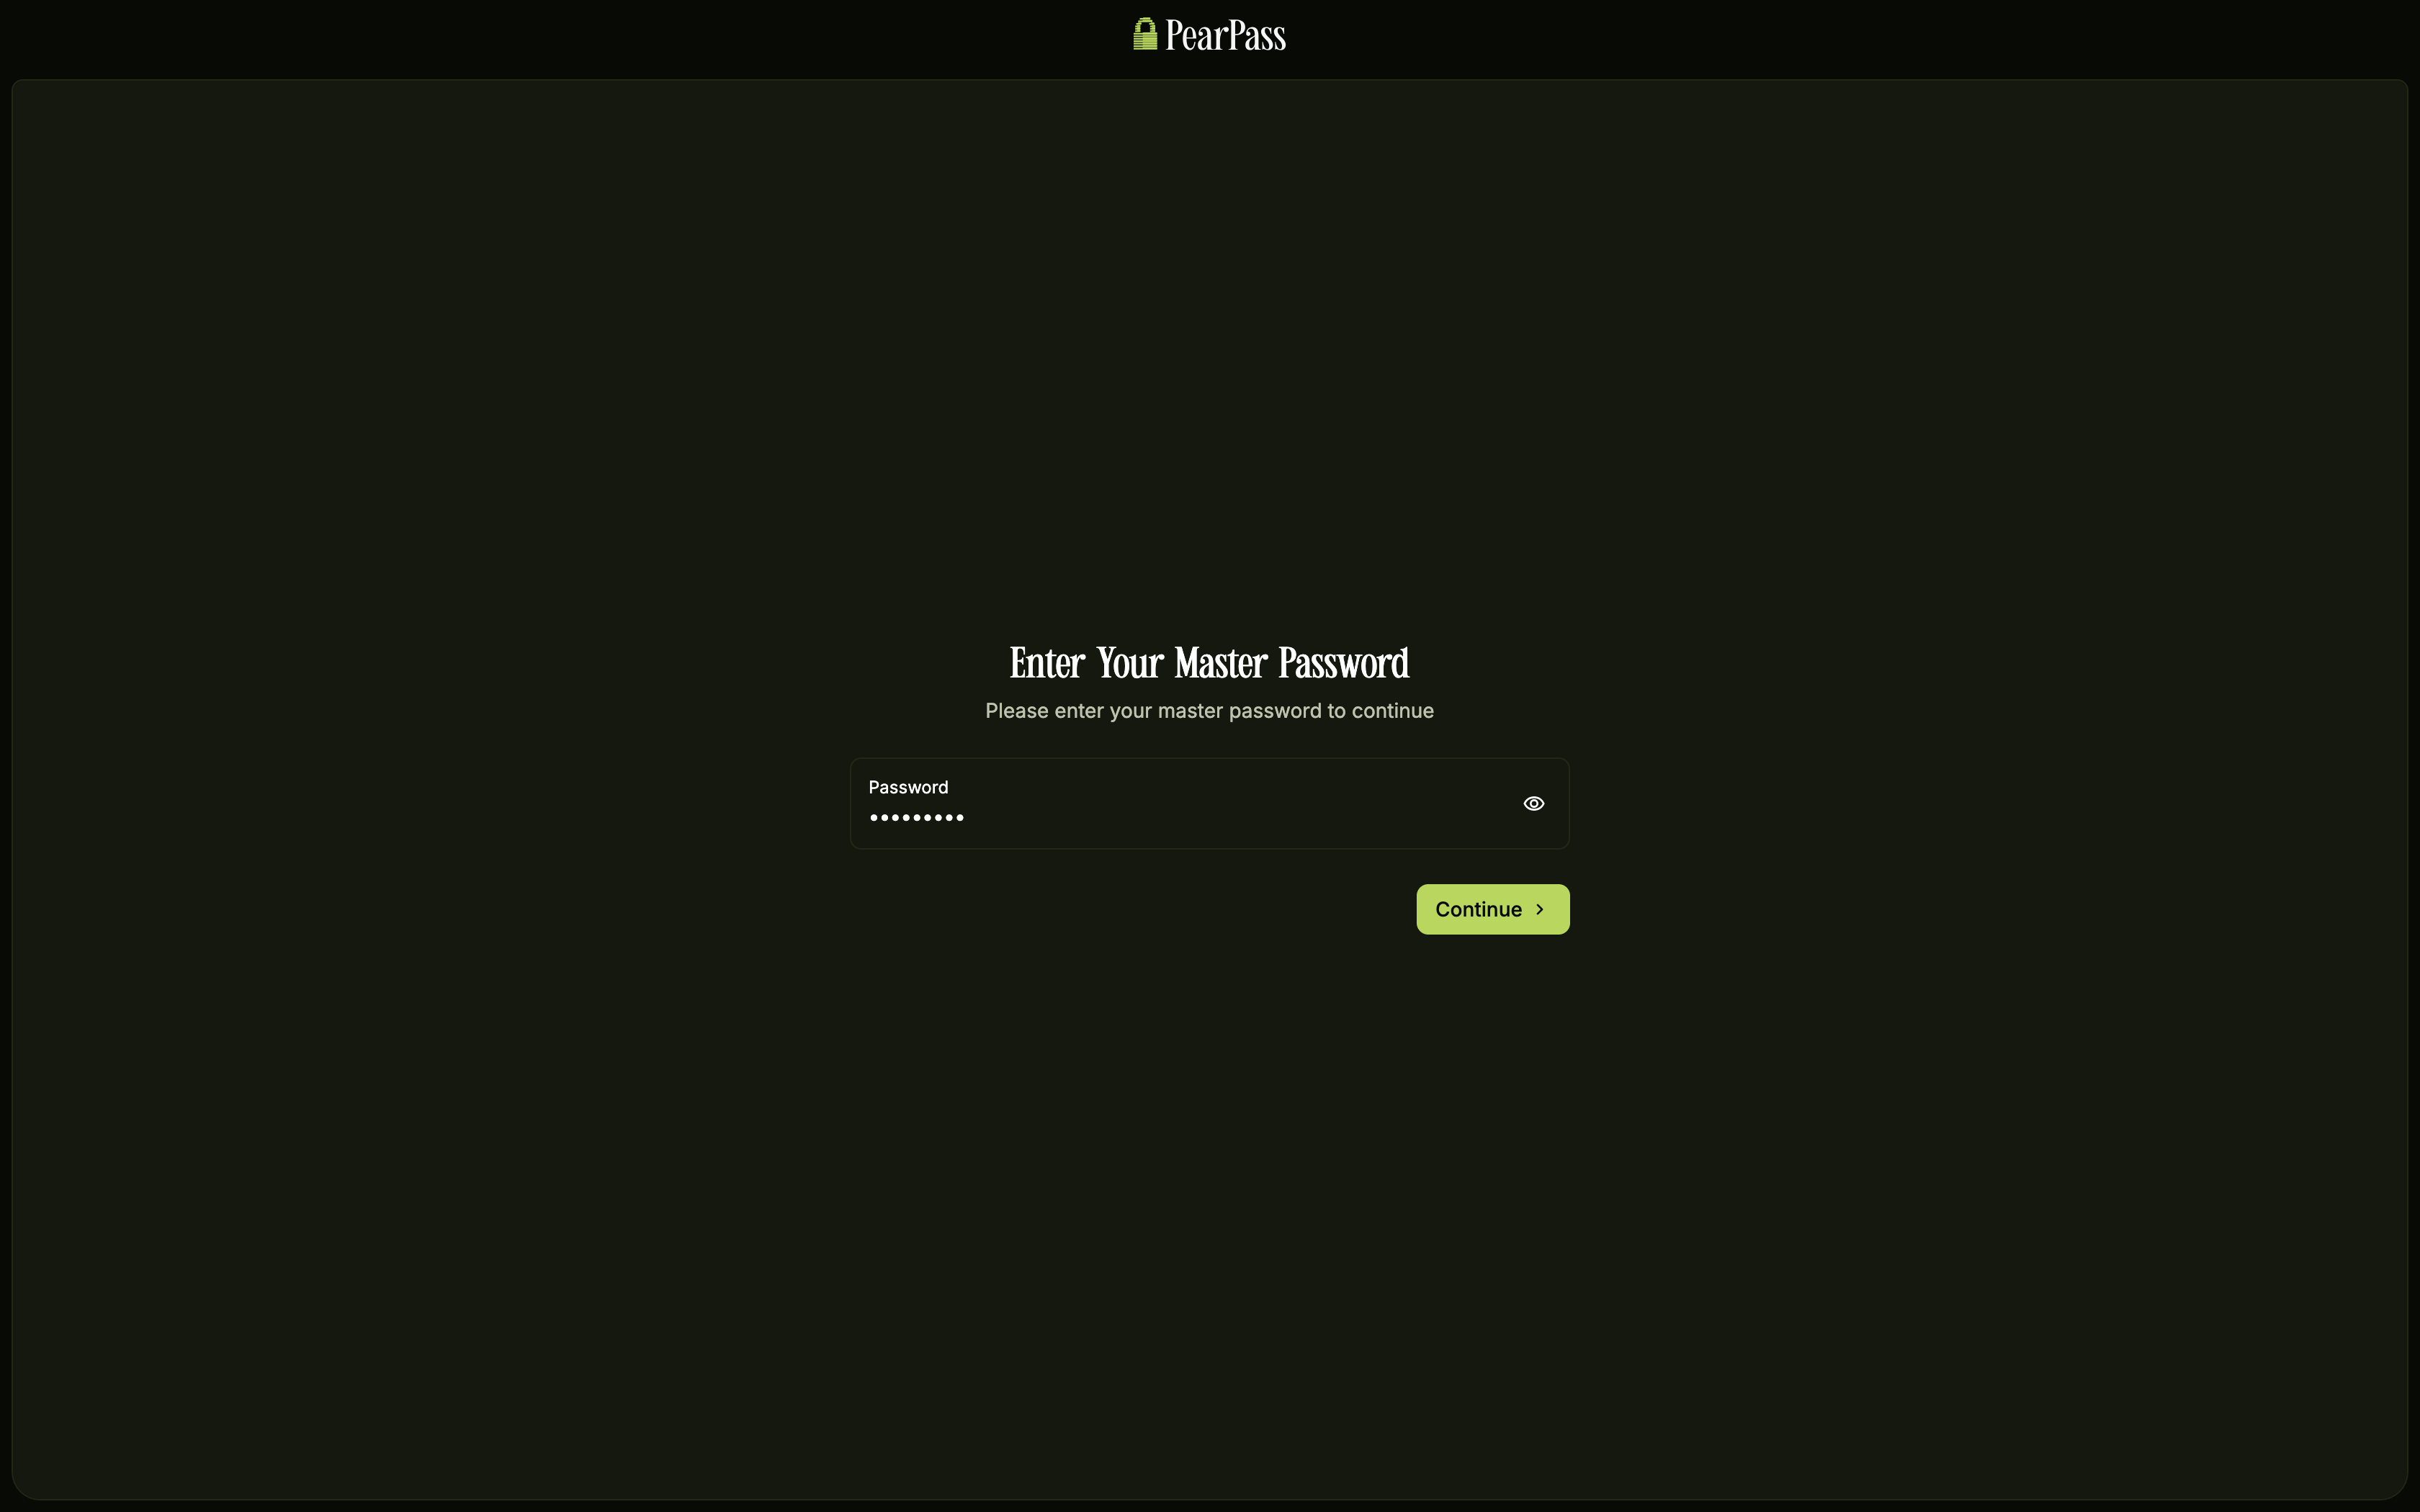
Sign in
Open PearPass on your computer and sign in with your master password.
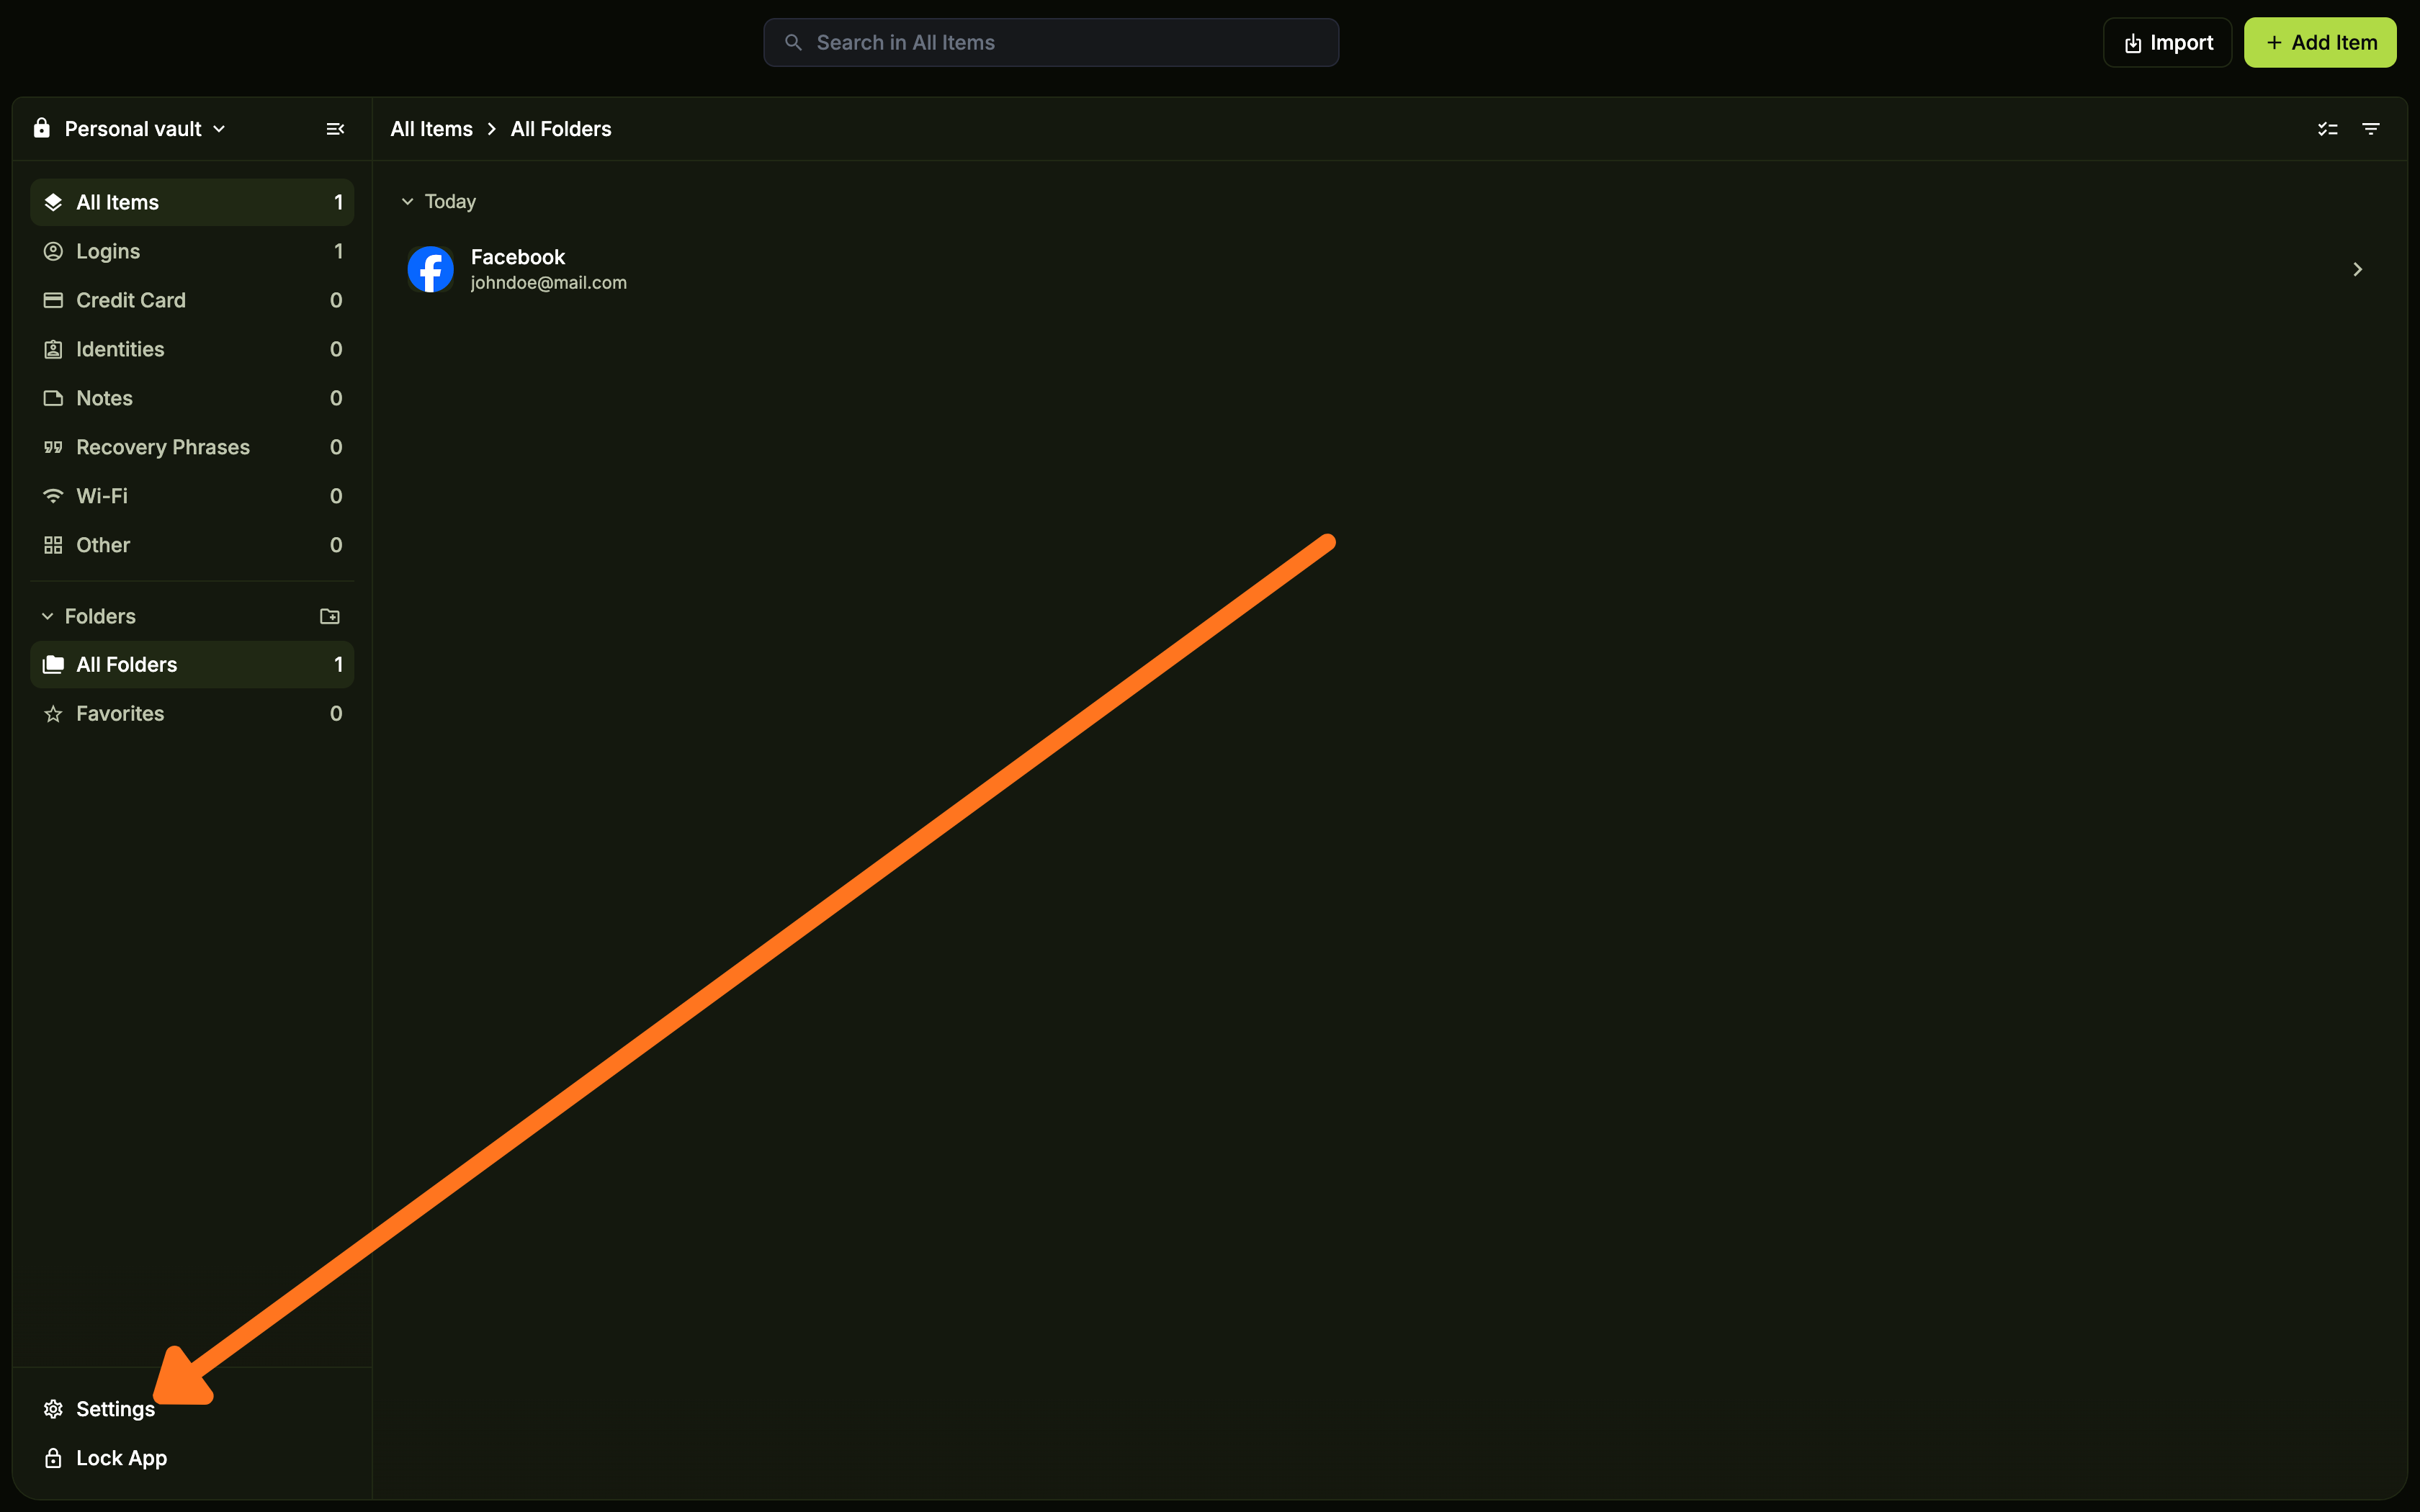
Open Settings
In the sidebar, click Settings.
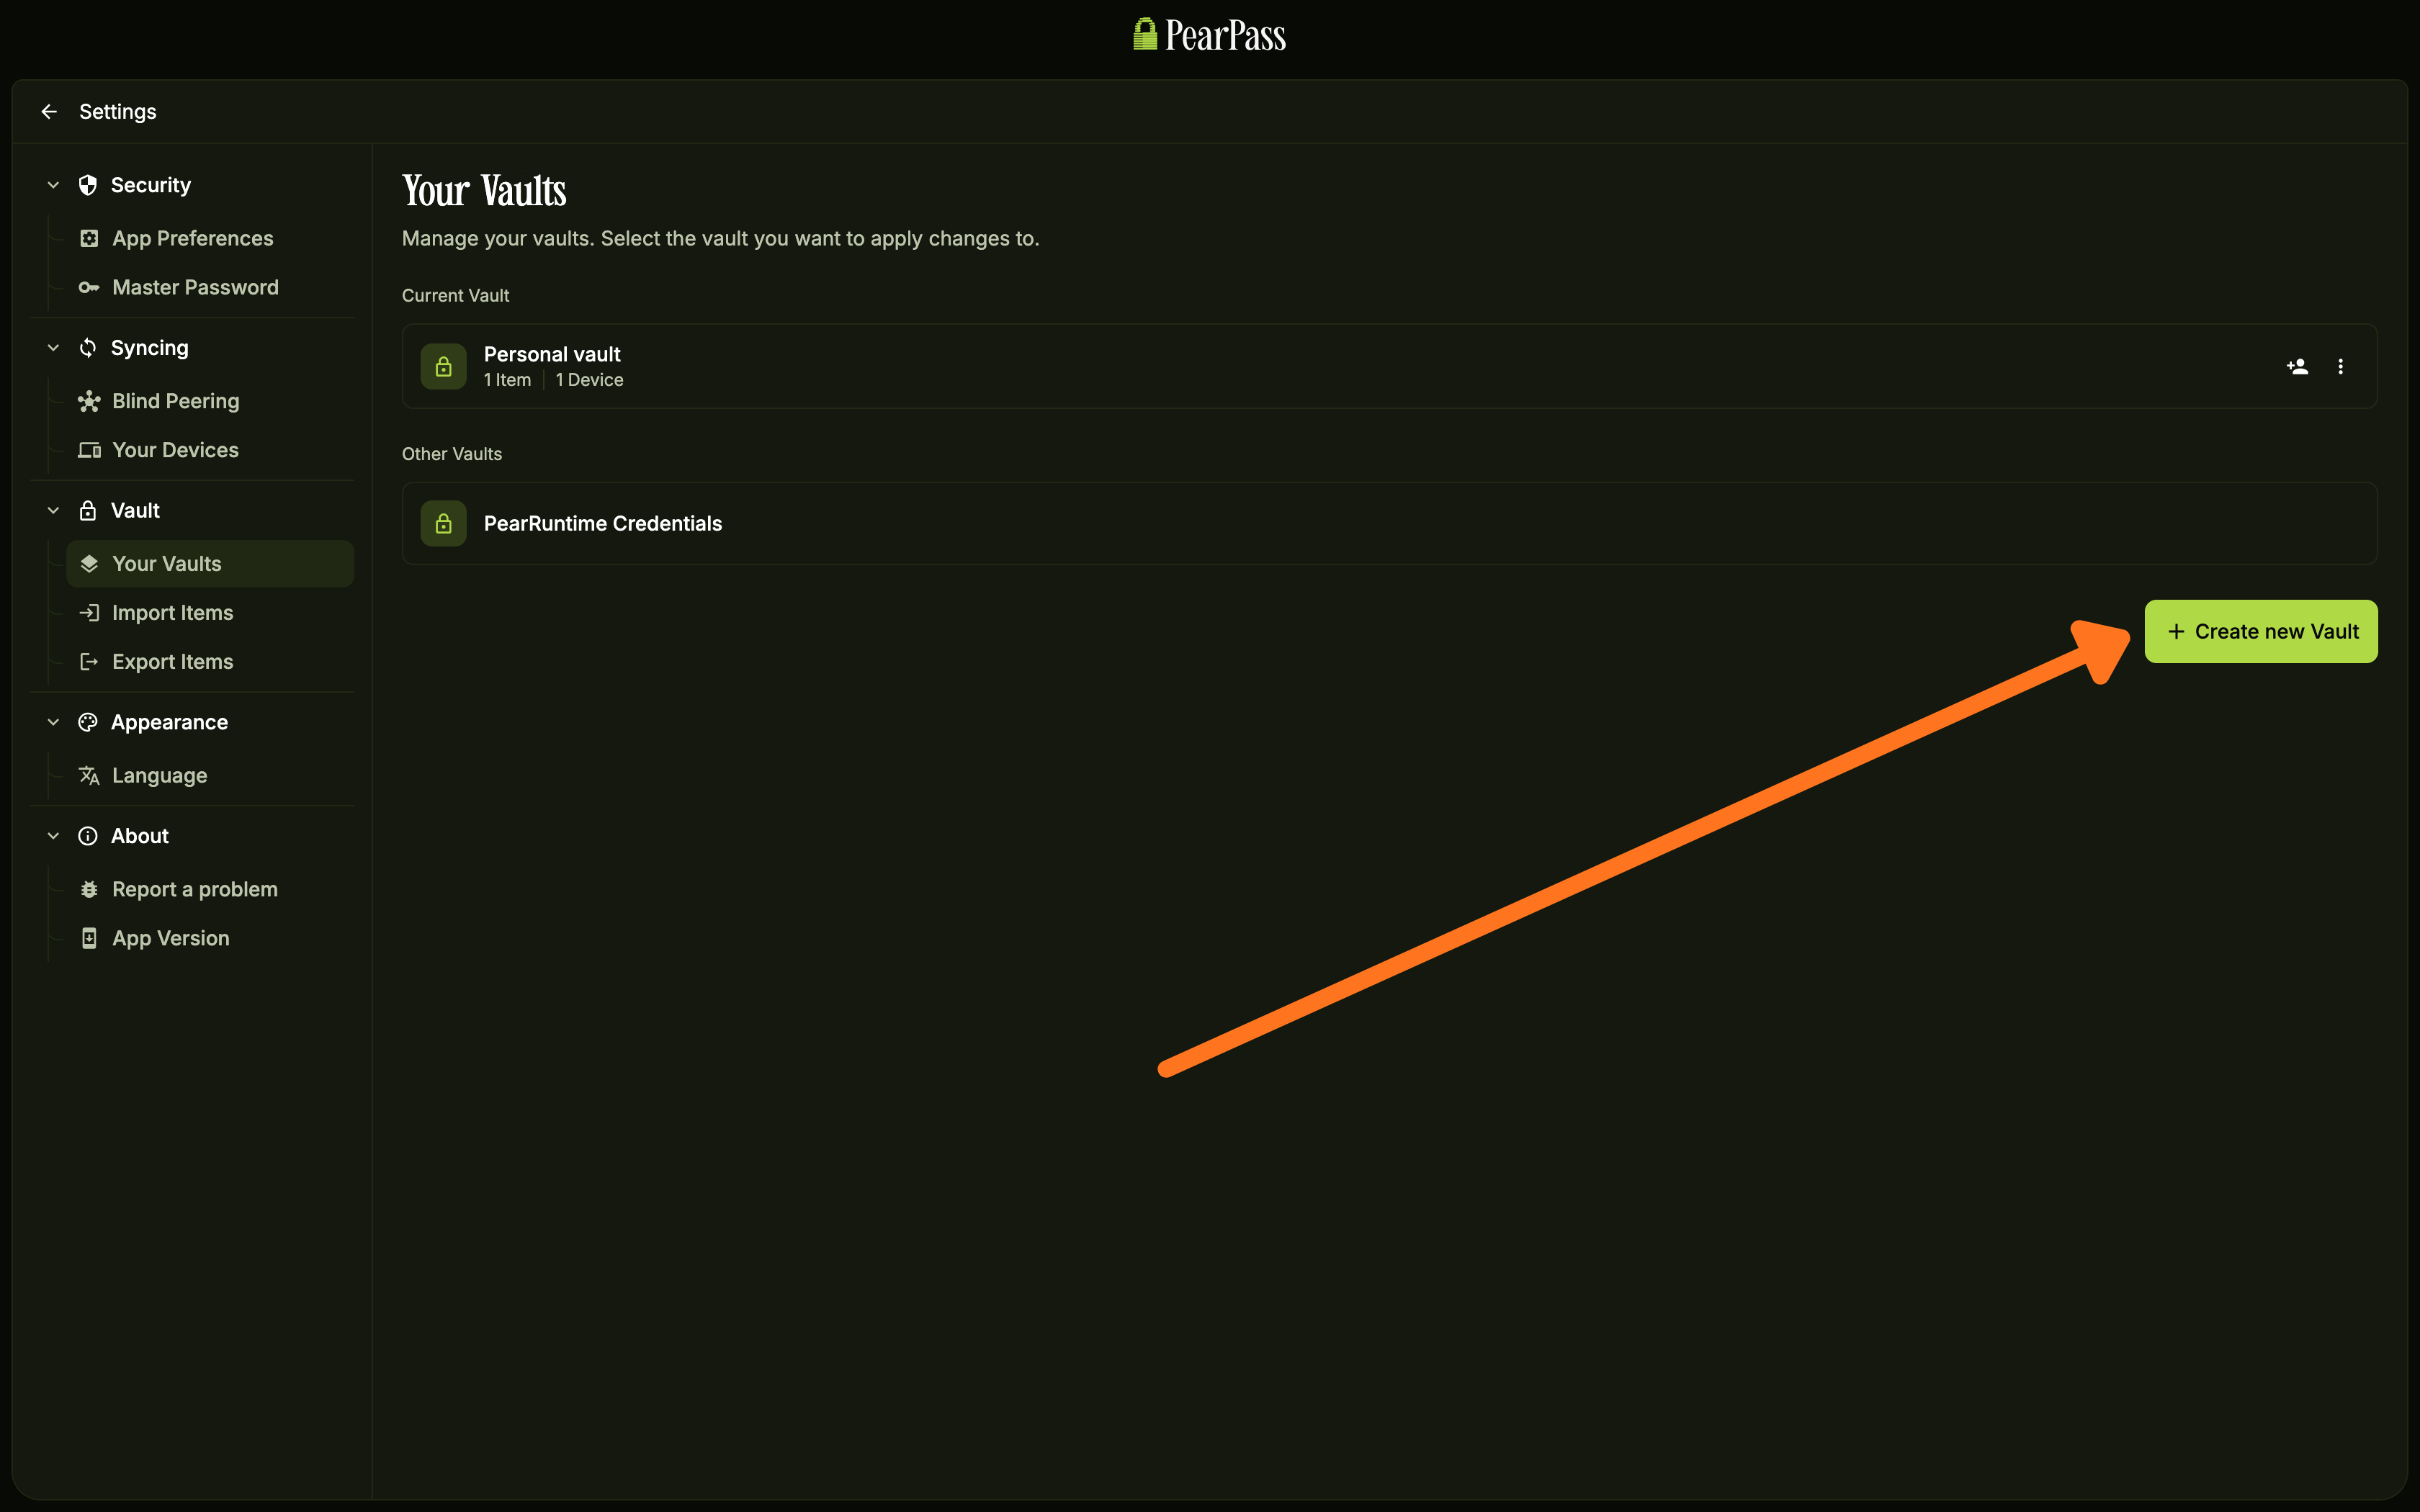
Create a new vault
In the Settings sidebar, under the Vault section, click Your Vaults. On the Your Vaults screen, click + Create new Vault.
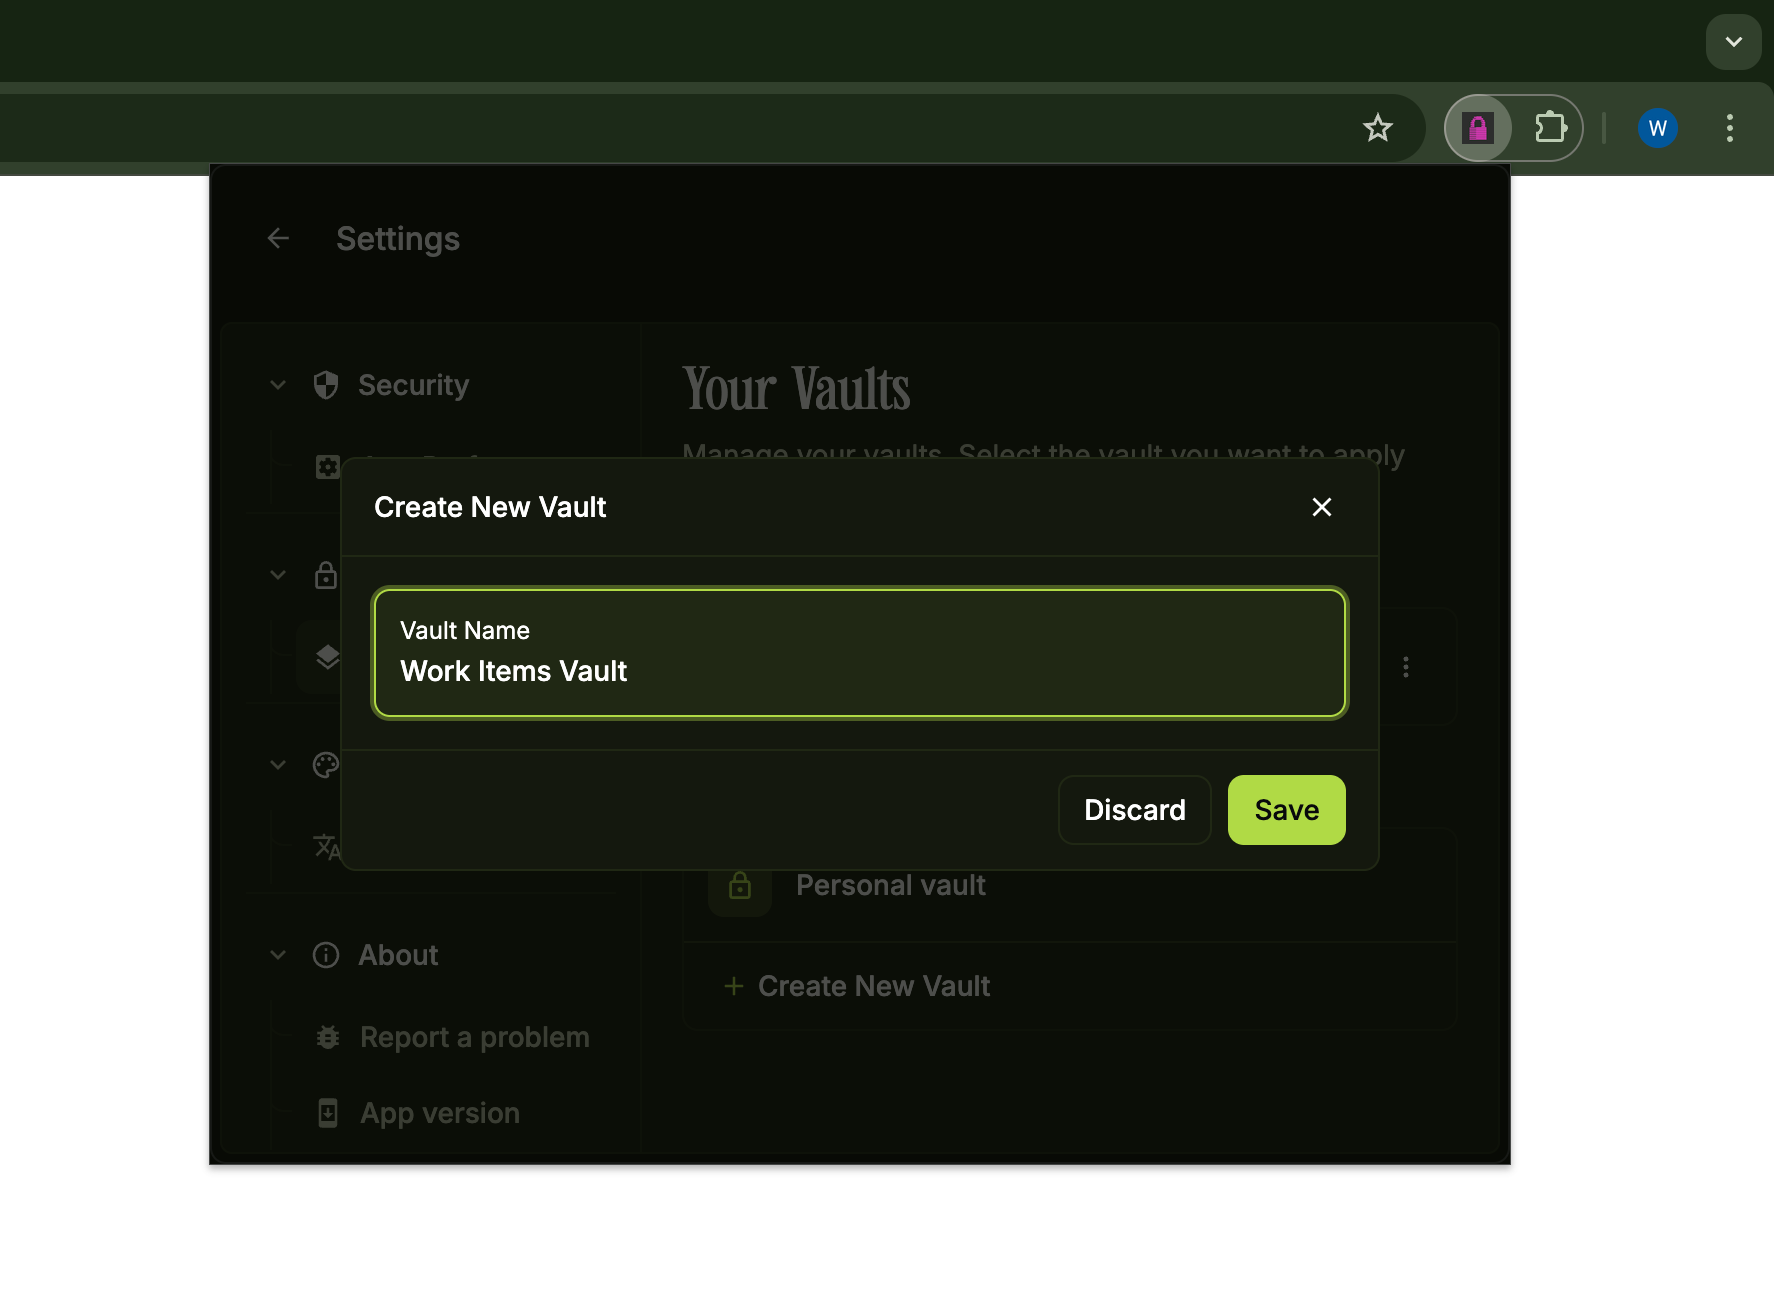
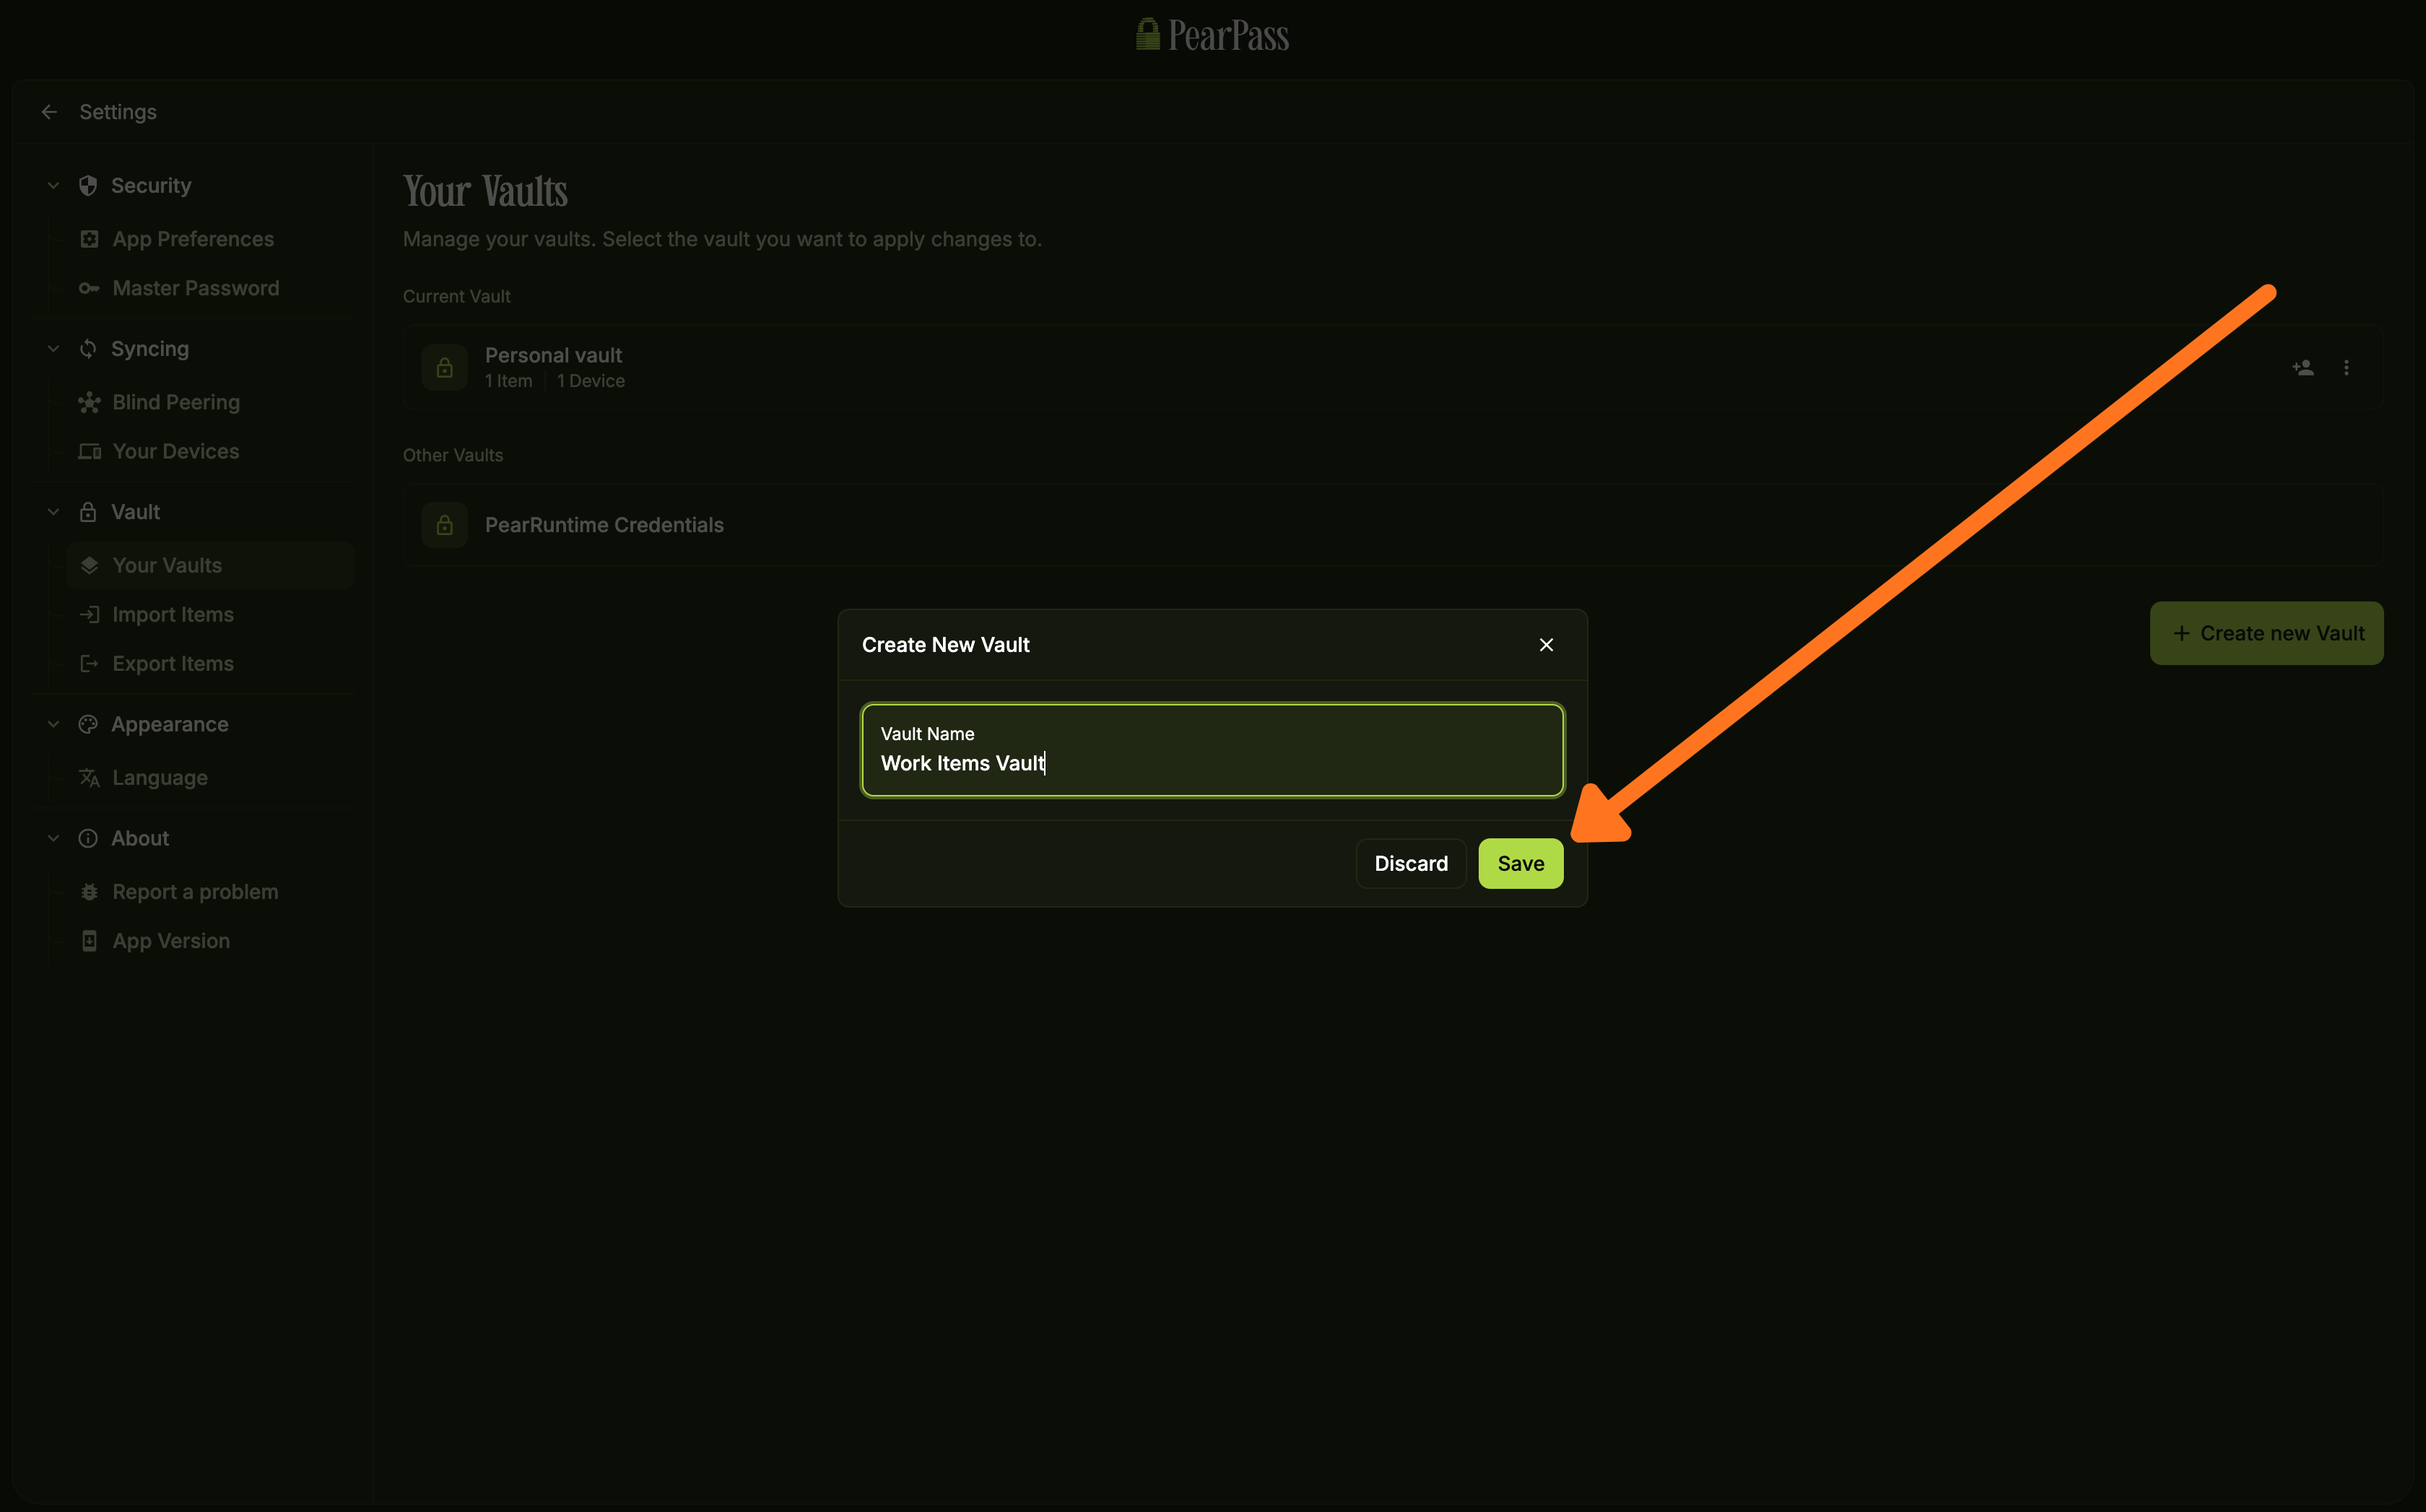
Save your vault
In the Create New Vault dialog, enter a name for your vault, then click Save. Your new vault is ready to use.
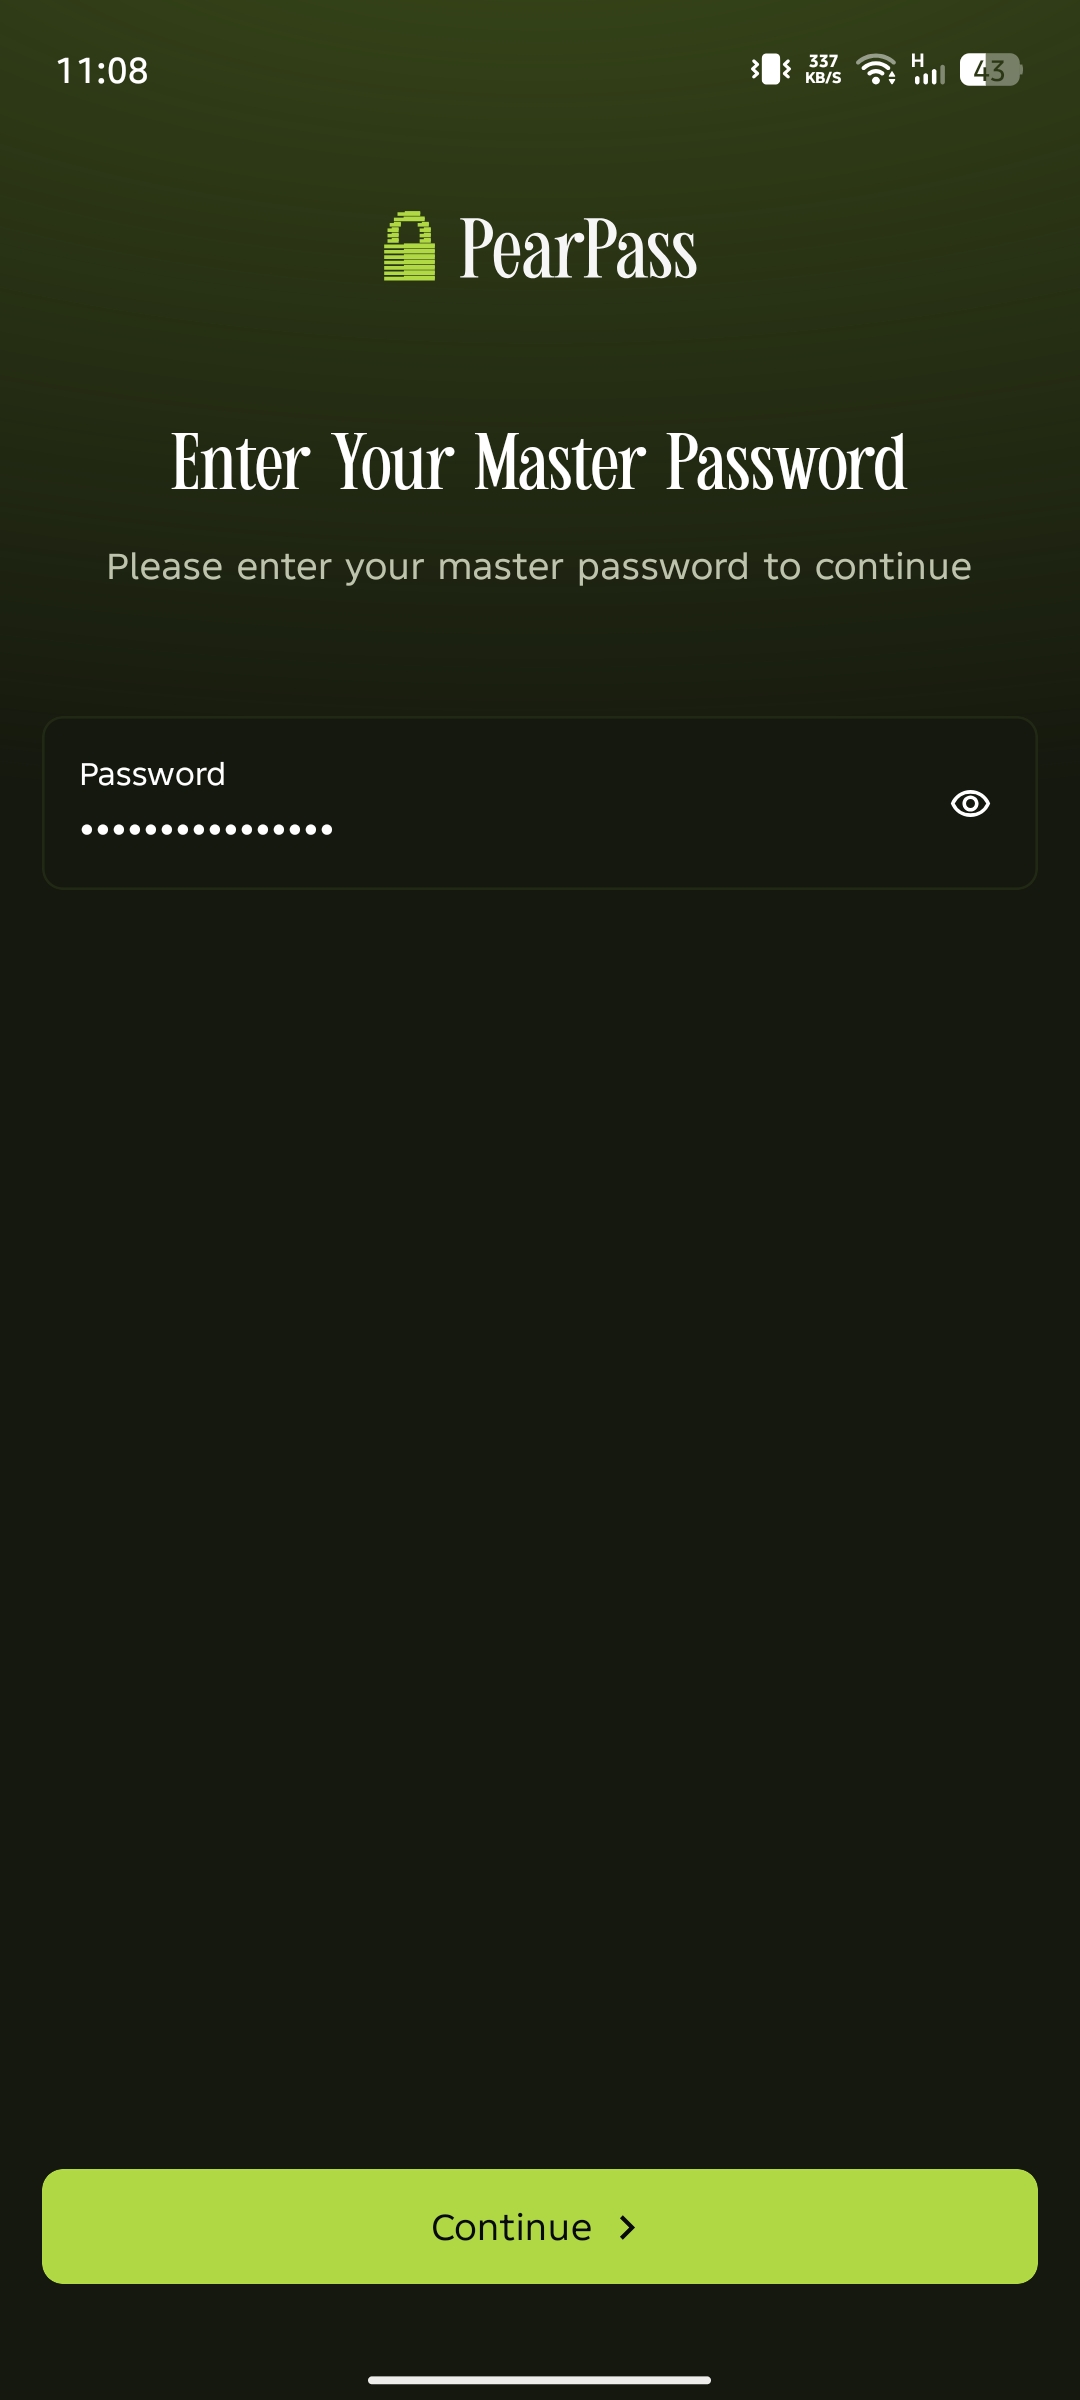
Sign in
Open PearPass on your mobile device and sign in with your master password.
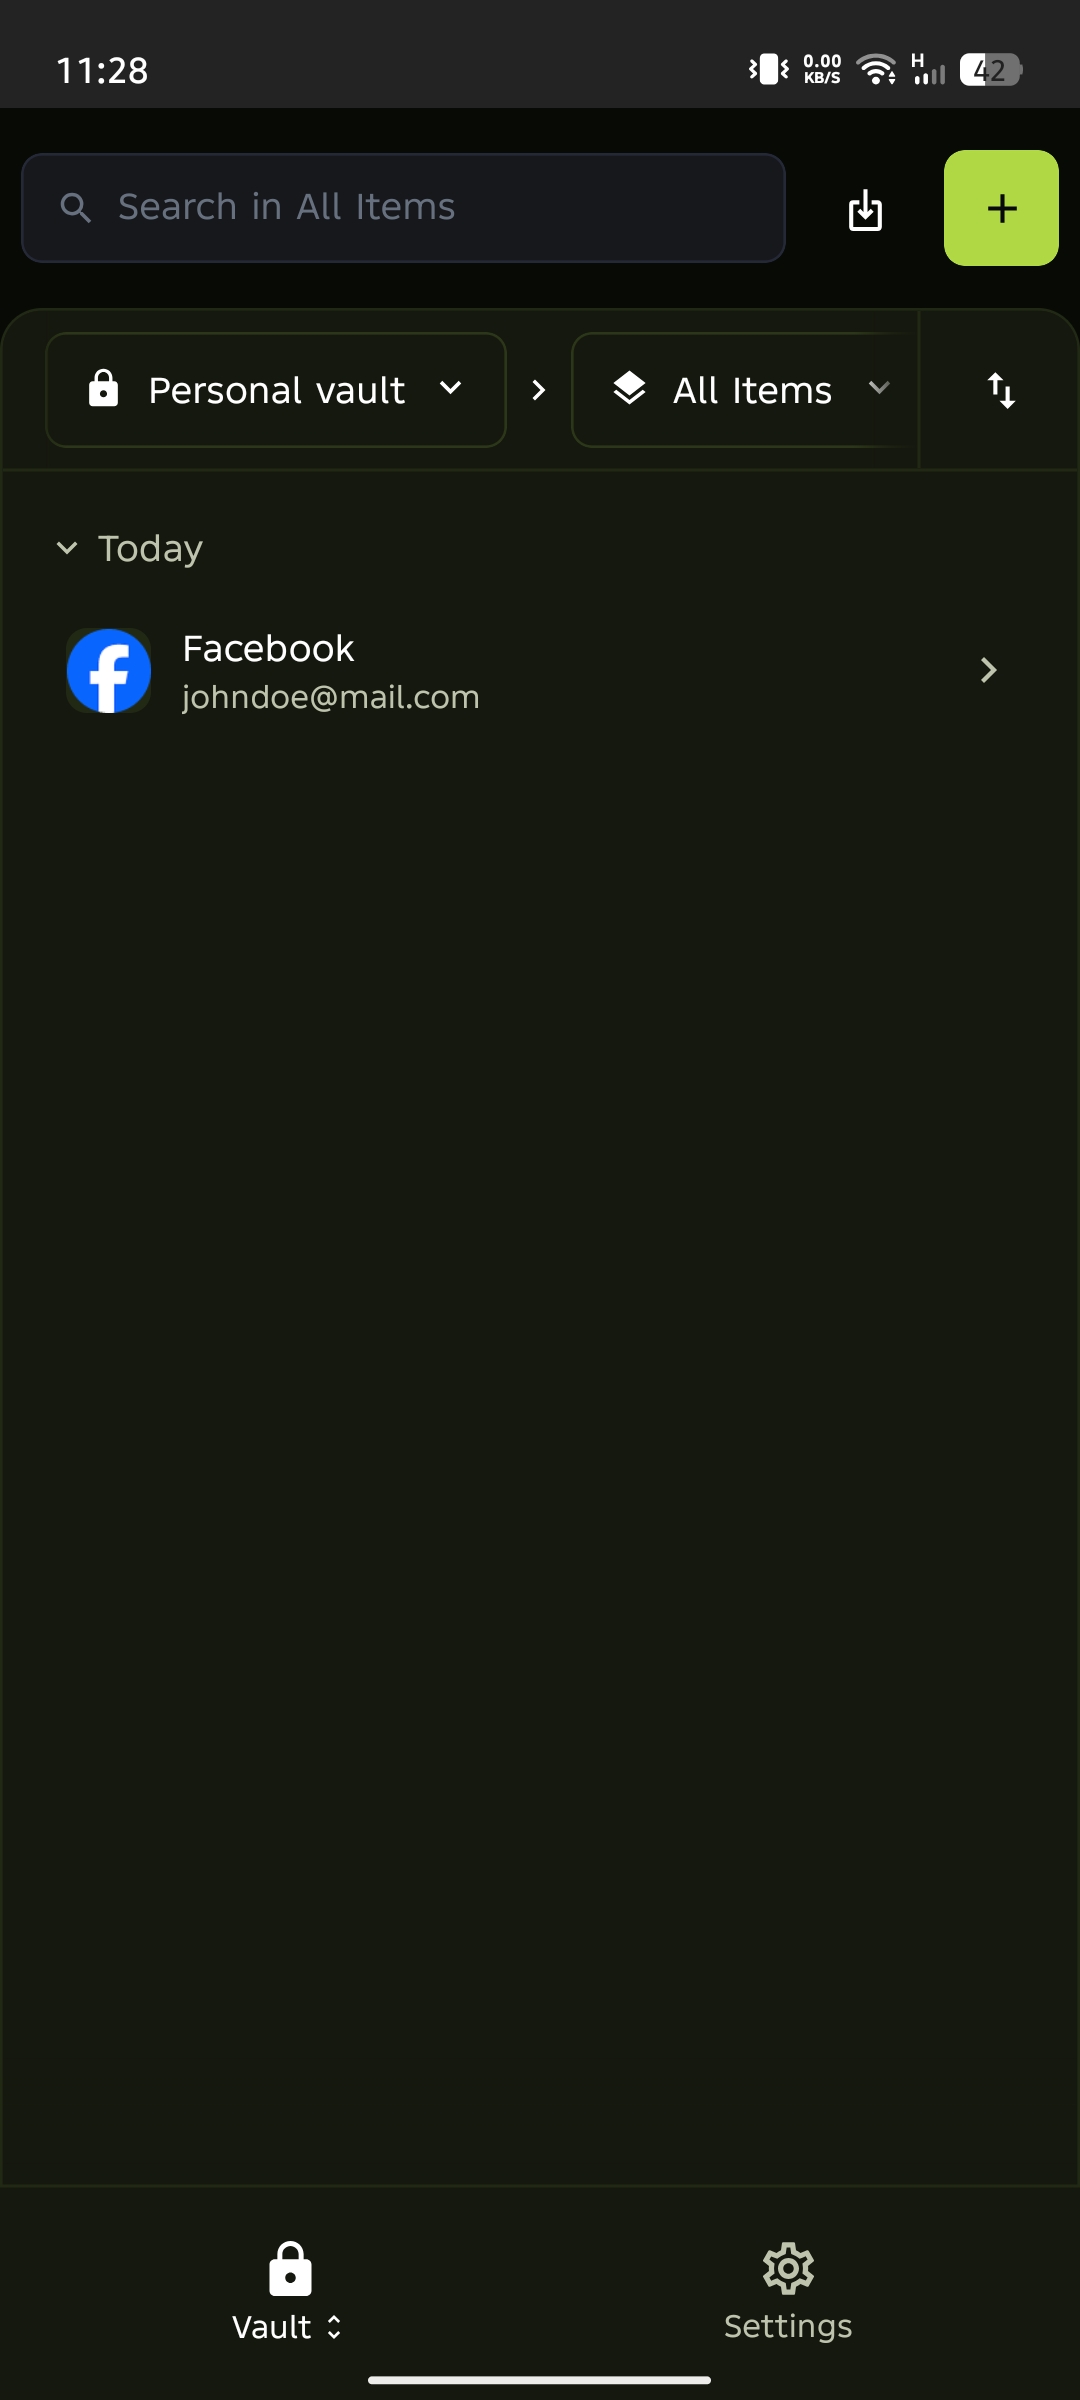
Open Settings
From the vault screen, tap Settings in the bottom navigation bar.
Select Your Vaults
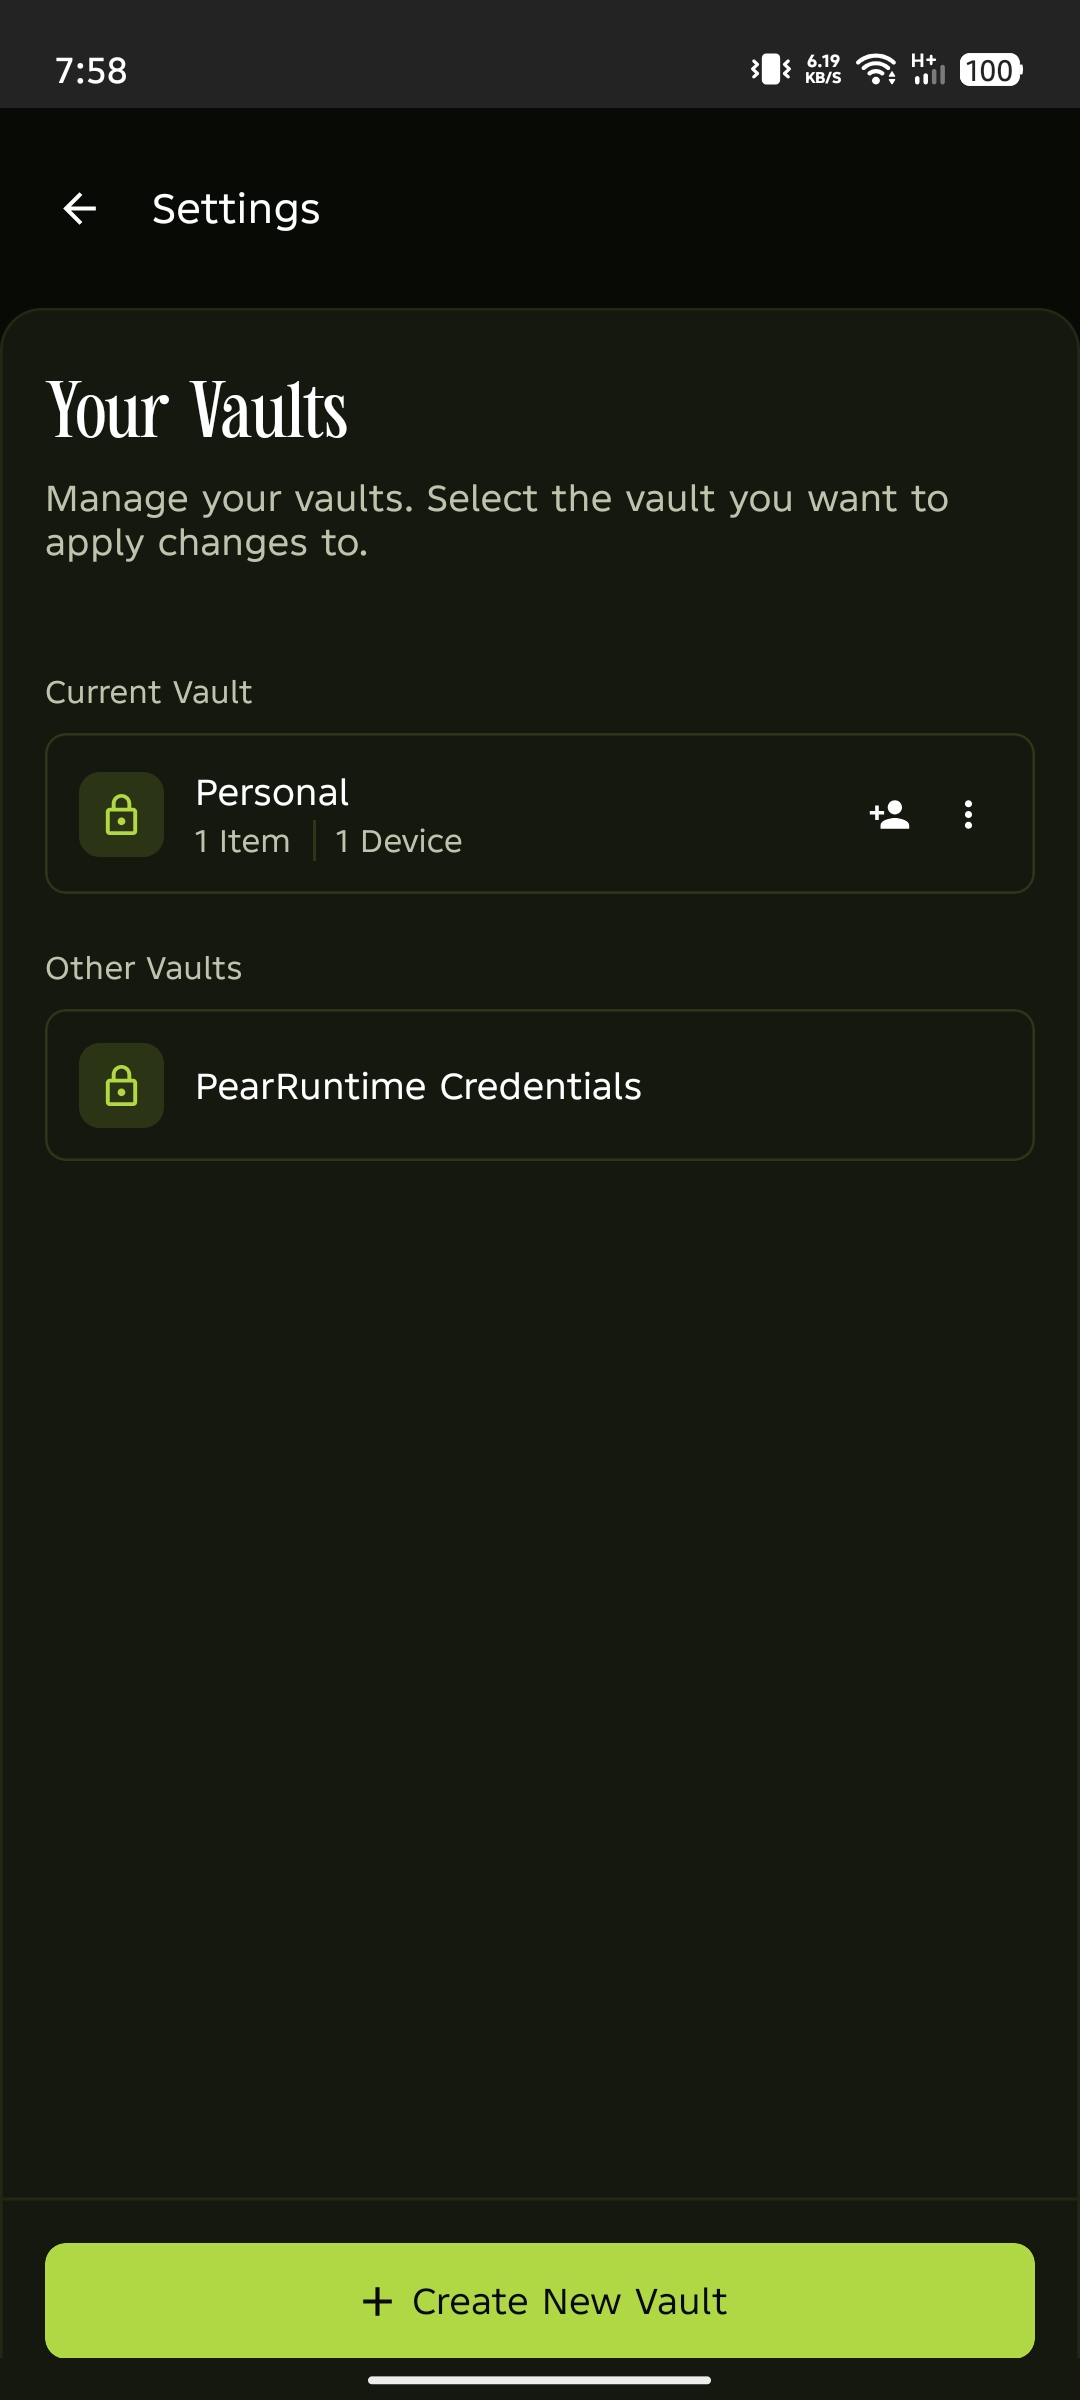
Under the Vault section, tap Your Vaults.
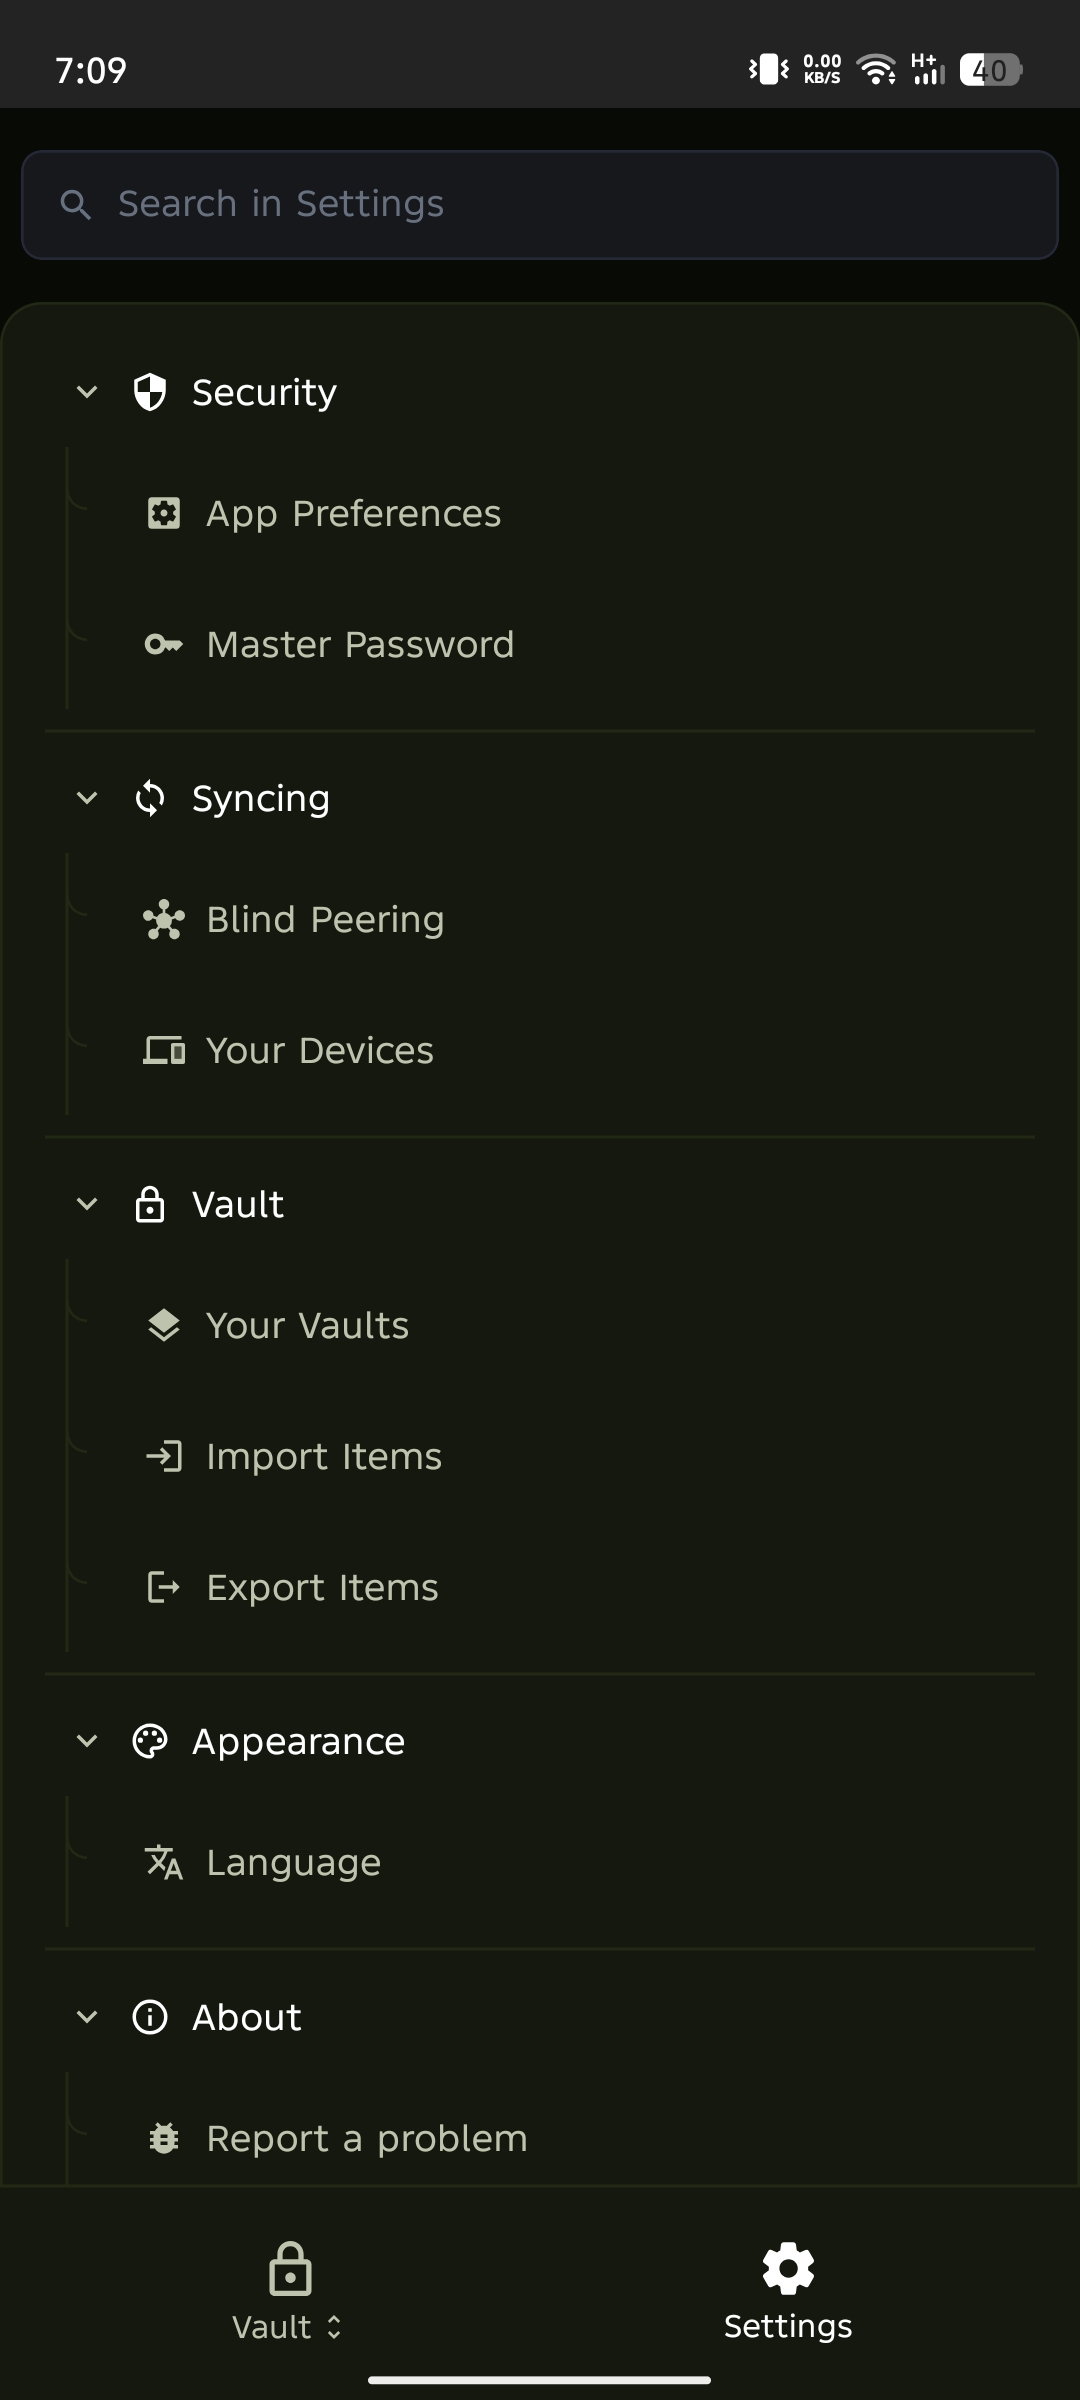
Create a new vault
On the Your Vaults screen, tap +Create New Vault.
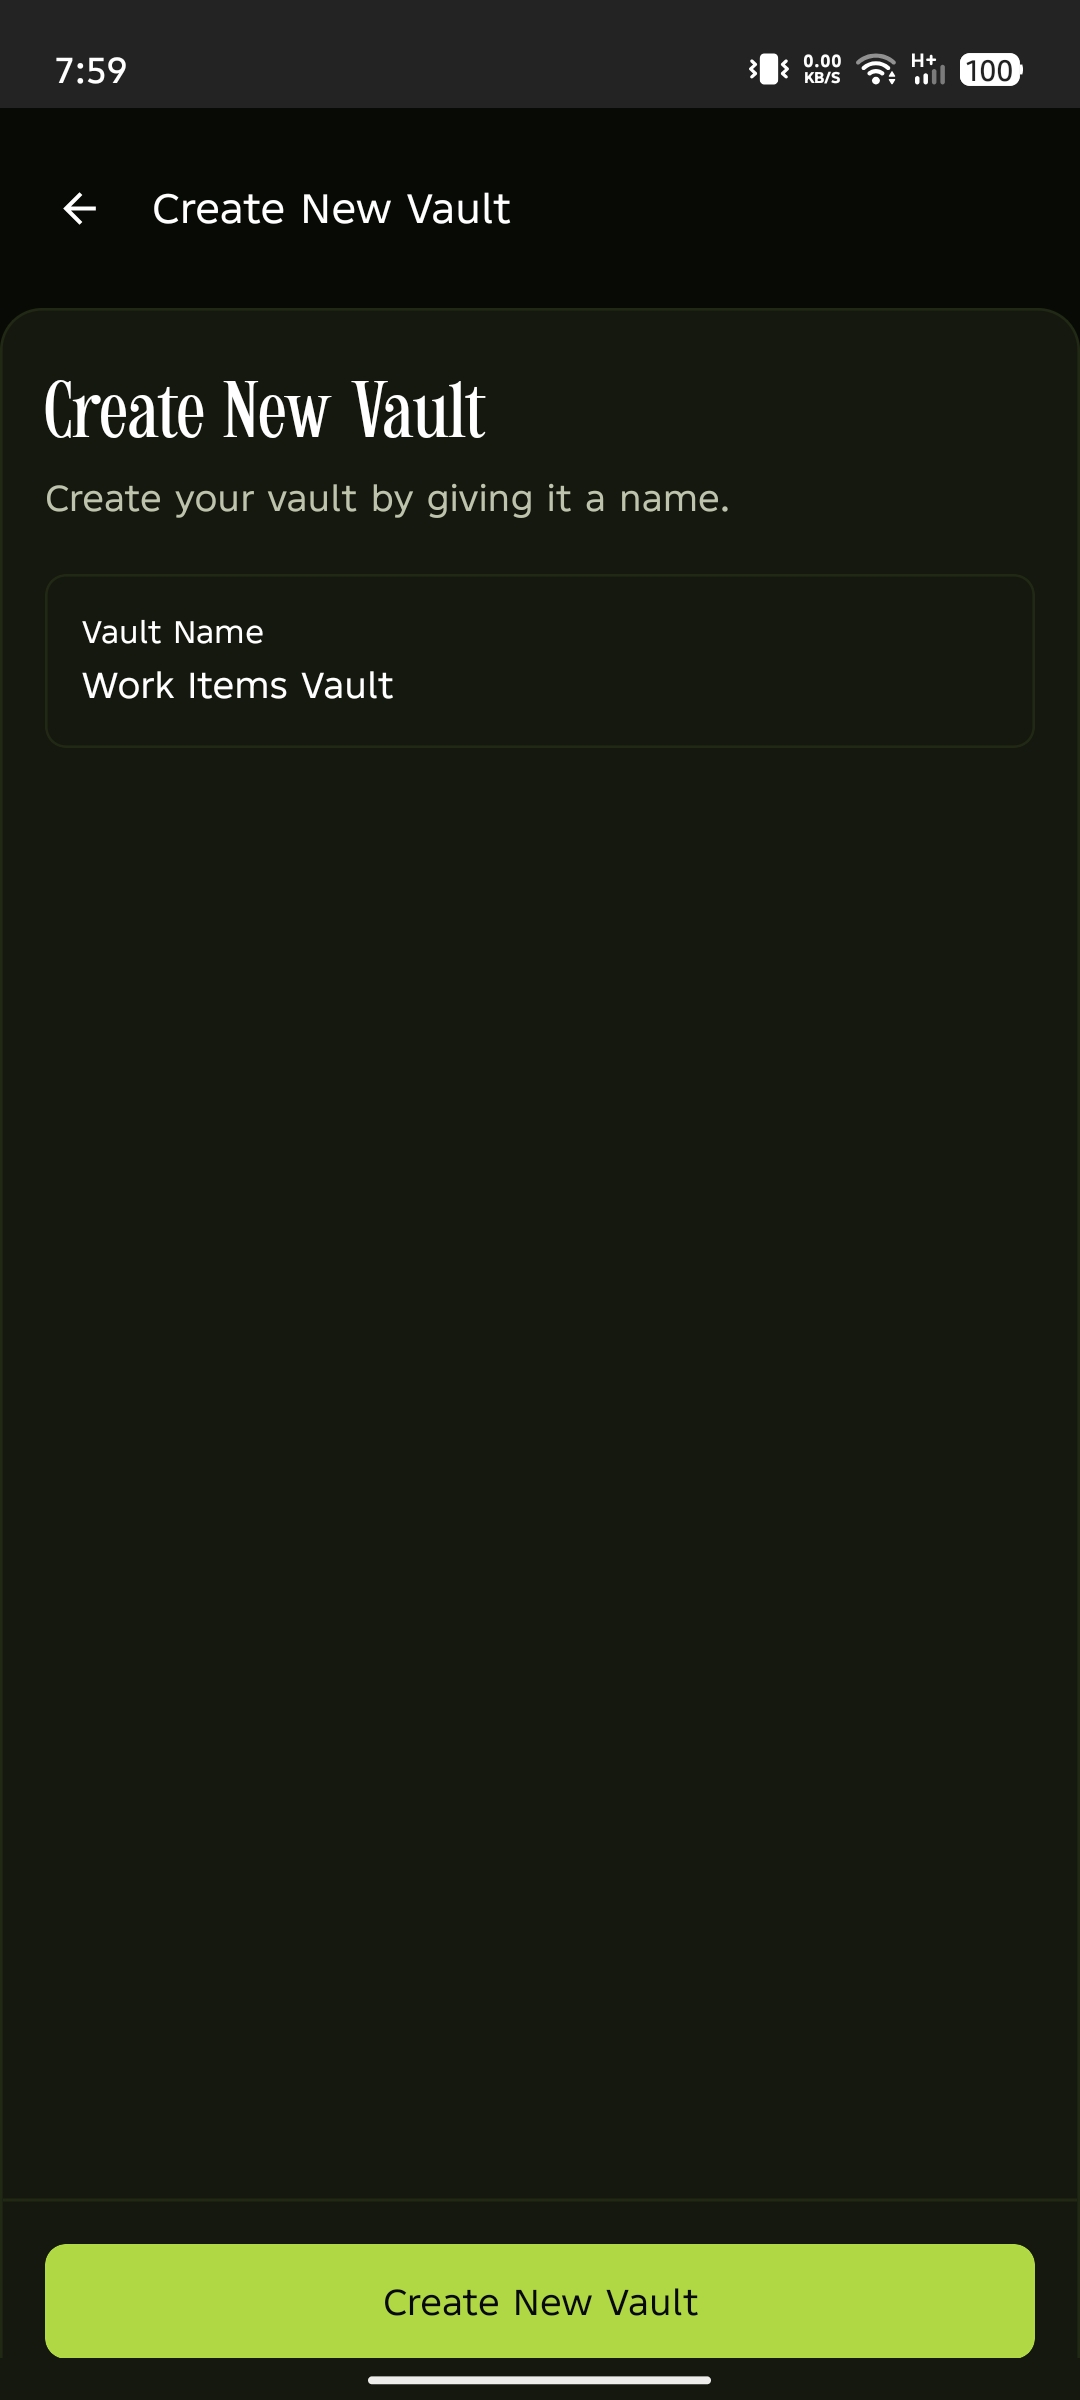
Name and save your vault
In the Vault Name field, enter a name for your vault, then tap Create New Vault.
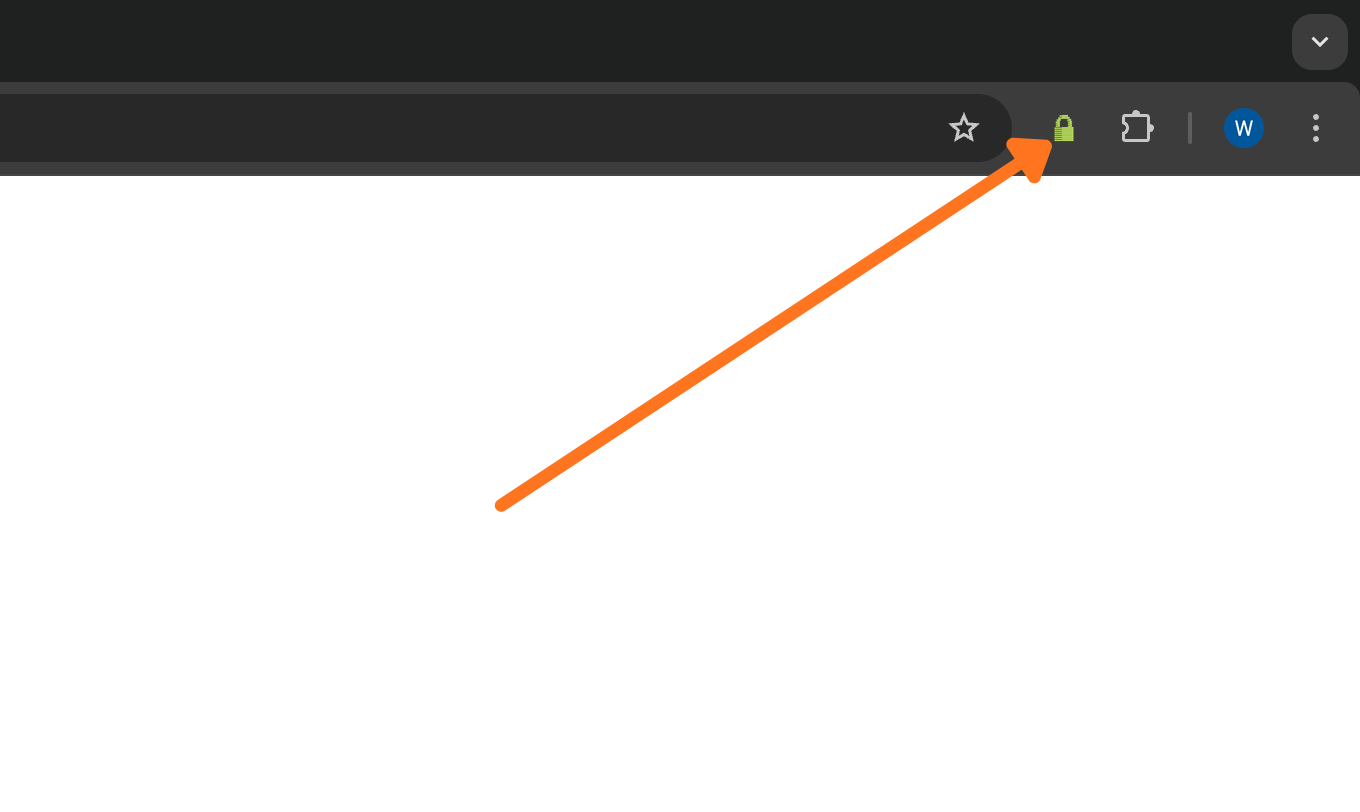
Open the extension
In your browser toolbar, click the PearPass icon.
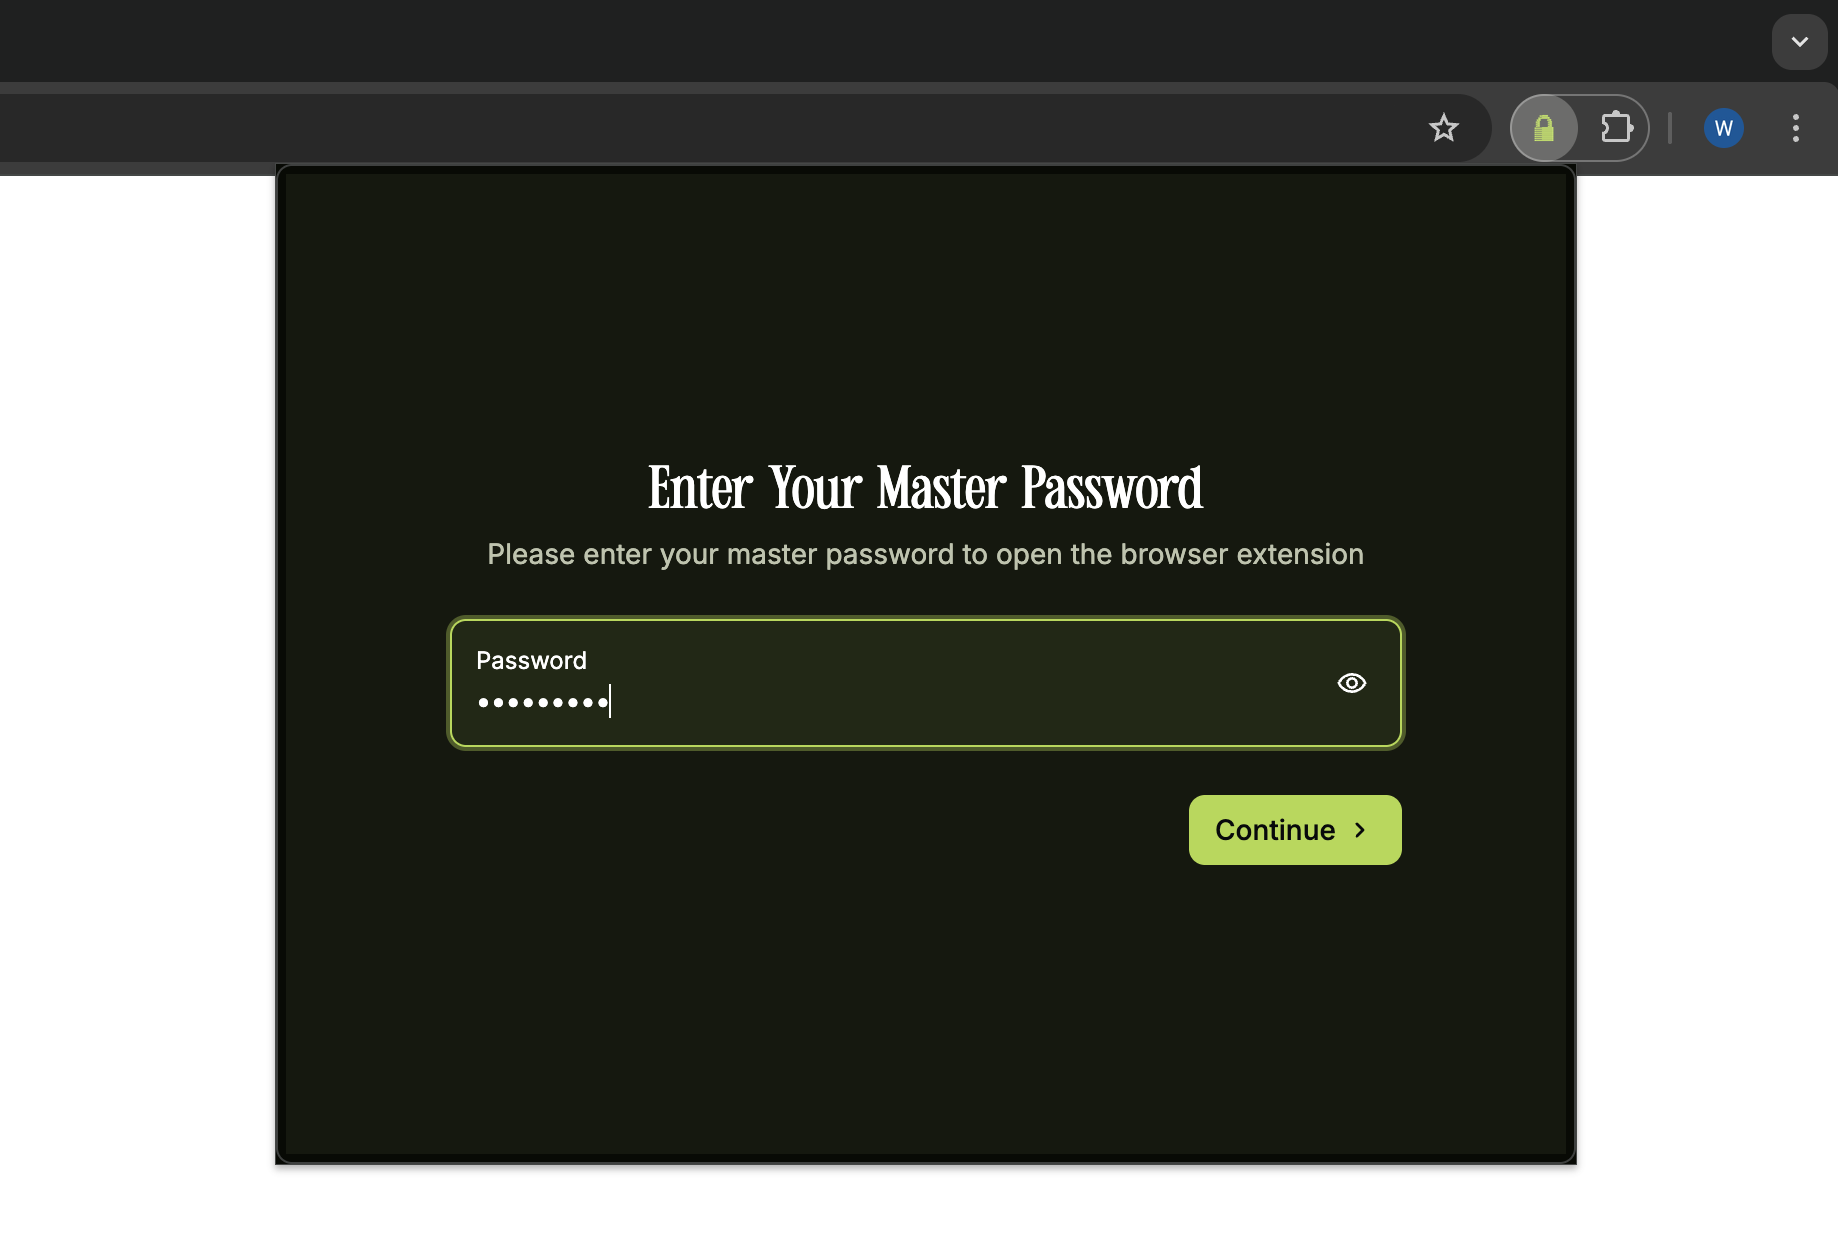
Sign in
Sign in with your master password.
Open Settings
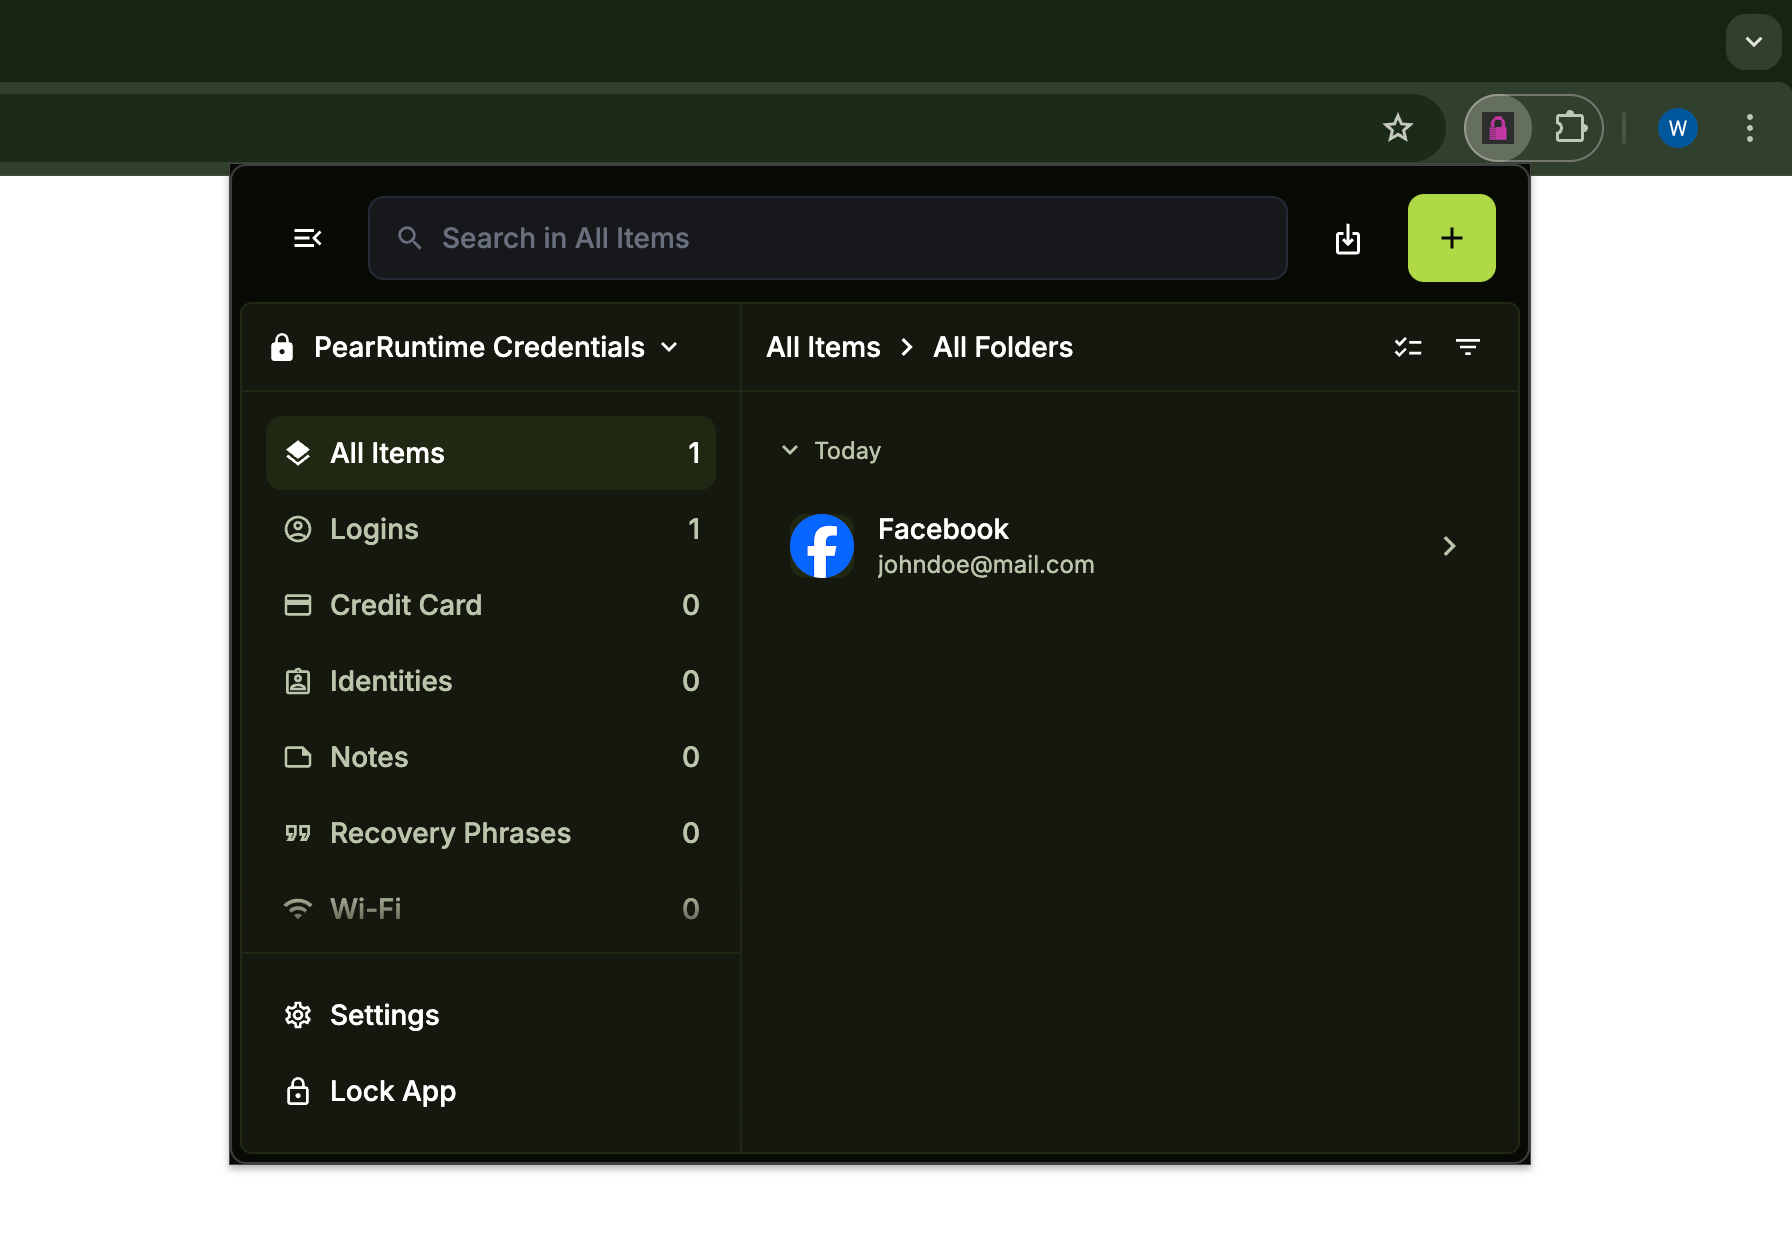
Click the menu icon in the top left corner to open the side menu, then click Settings.
Create a new vault
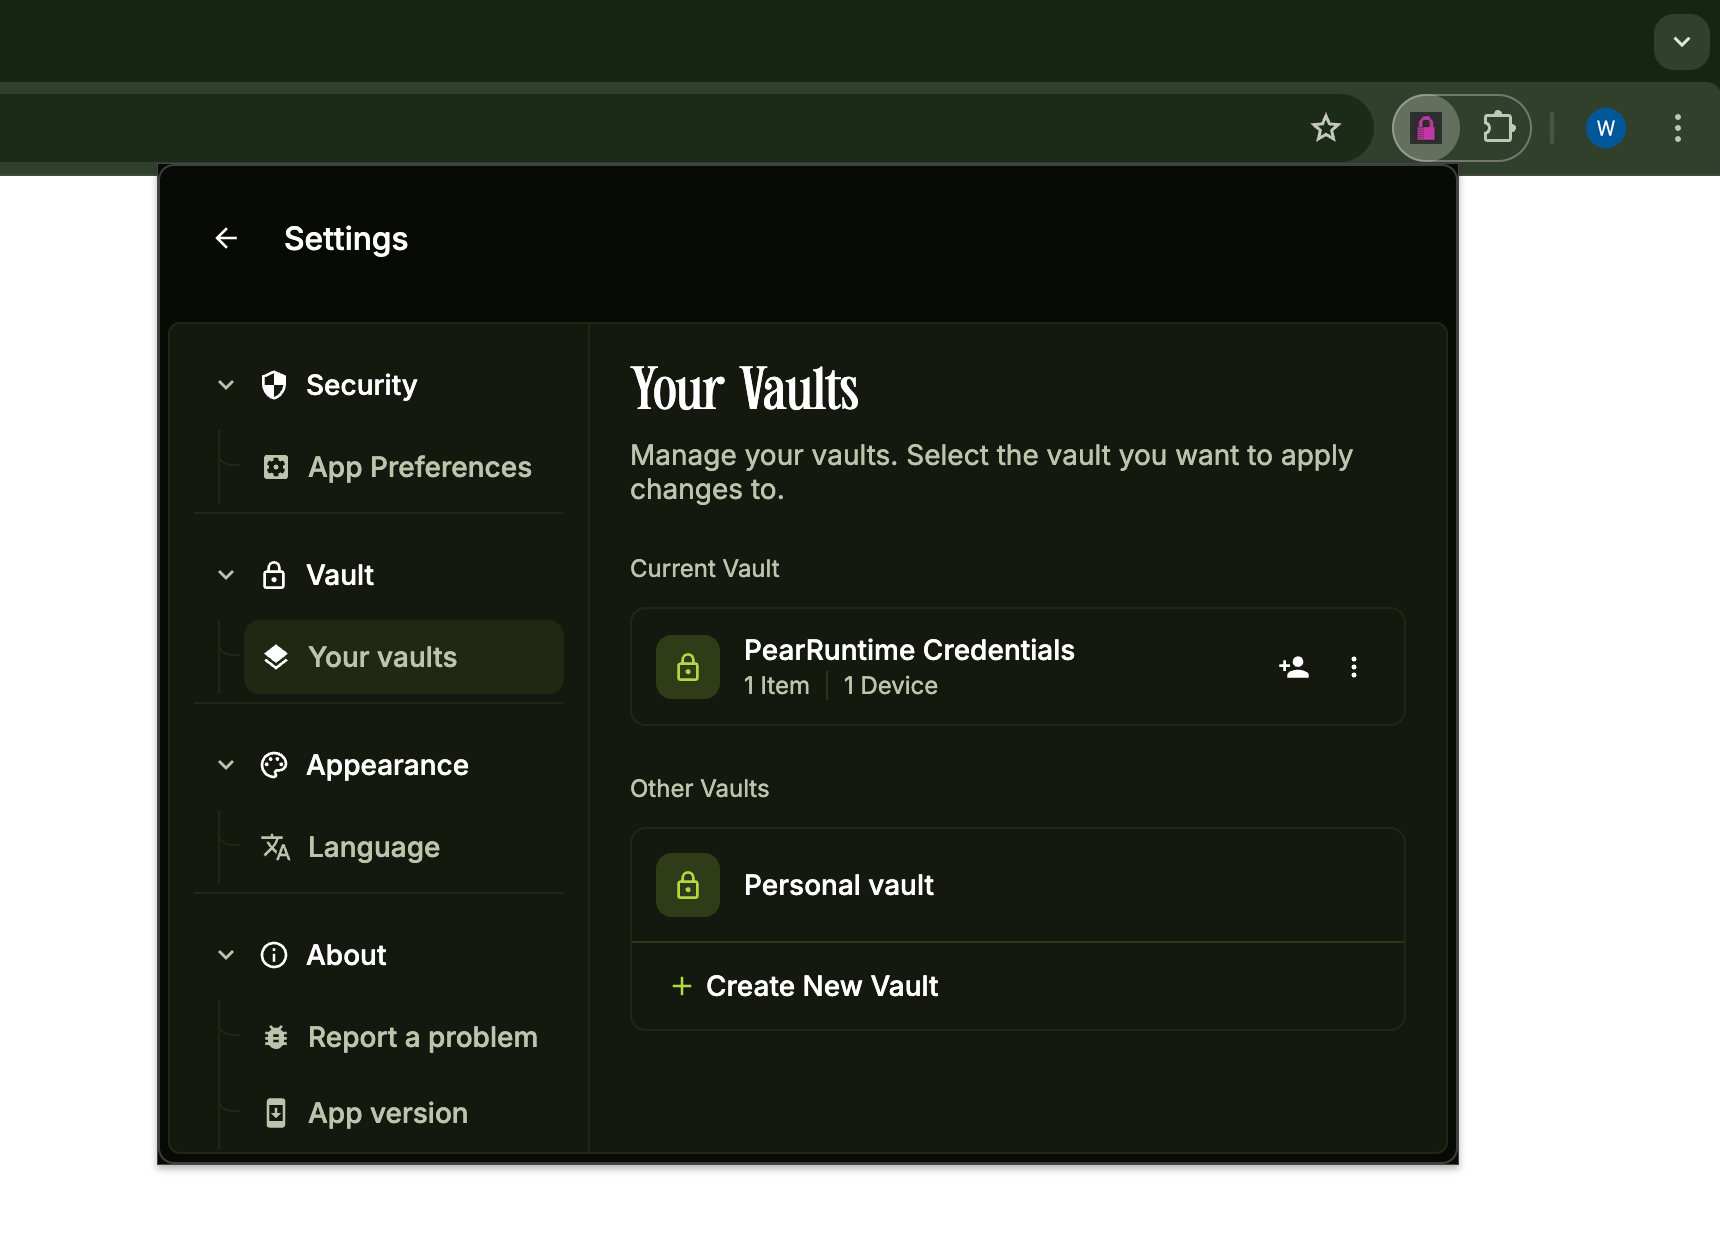
In the Settings sidebar, under the Vault section, click Your Vaults. On the Your Vaults screen, click + Create New Vault.
Save your vault
In the Create New Vault dialog, enter a name for your vault, then click Save. Your new vault is ready to use.